Tired of having your trash cans in plain sight? Try this simple and modern solution for hiding your trash can (and other ugly outdoor necessities)!
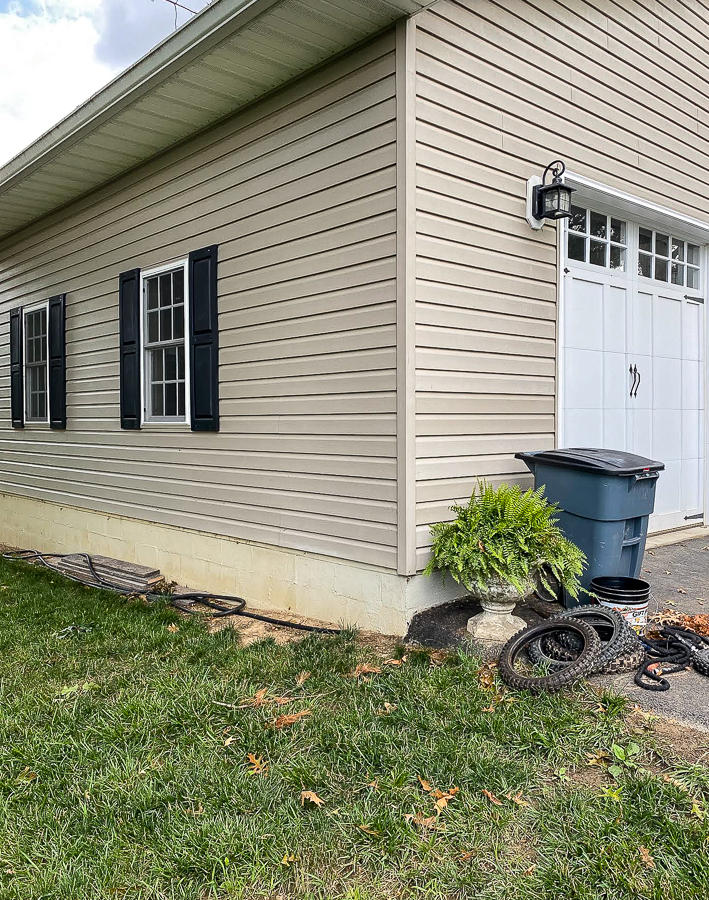
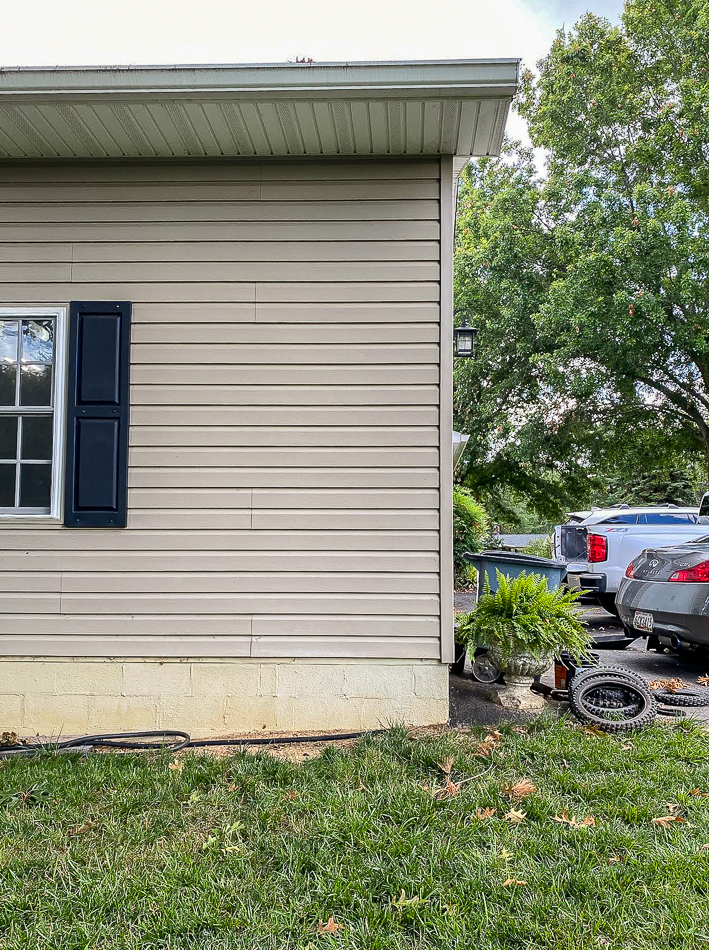
We had our two-car garage built over seven years ago, which means for seven years the corner and side of our garage have been a little bit of an eyesore. No plants, no mulch, no landscaping......nothing.
The corner of the garage is not only where we keep our trash can (it gets too smelly to keep in the garage), but it quickly became a dumping ground for random buckets, leftover wood, old dirt bike tires, hoses and random trash.
I desperately needed a solution to hide the trash can and clean up the exterior corner of the garage. This past weekend, I FINALLY bit the bullet and built a simple and modern trash can screen.
- SUPPLIES NEEDED TO MAKE A MODERN TRASH CAN SCREEN-
Affiliate links have been used
- (3) 4" x 4" x 6' Pressure treated posts
- (15) 1" x 4" x 8' Weathersheild boards
- Shovel
- 80lb Bag of Sakrete Concrete Mix
- Mitre saw or Chop saw
- Ryobi Airstrike Nailer (or Drill and Screws)
- 1 1/2" nails for nail gun
- Sawhorses and spare boards
- Level
- Hammer
- Tape Measure
- Pencil
- Water (to add to concrete)
- Spare piece of wood to use as a spacer
- Kilz Adhesion Exterior primer (tinted)
- Sherwin-Williams A100 (Duration was out of stock) Exterior Paint in Iron Ore
- Paint tray
- 4" roller
- (2) 4" roller covers
- (6) Stepping stones
- Bag of black mulch
- Bag of topsoil
- Grass seed
I took pictures after trash day, so the before pictures are actually a bit of an improvement to what the corner of our house usually looks like.
The random dirt bike tires also needed to find a new home.....out of sight. My son burns through tires and it just so happens that my Golden Retriever LOVES to play with them. Why we need five is beyond me. We could keep them in the garage, but she likes to play catch and carry them around the yard, so we leave them out for her to easily grab and play with.
- HOW TO MAKE A MODERN TRASH CAN SCREEN -
STEP ONE:
*** Pressure-treated wood needs to be dried out before you apply paint or stain. I am impatient and did not do this step, but you should allow your wood to dry out completely before starting this project. ***
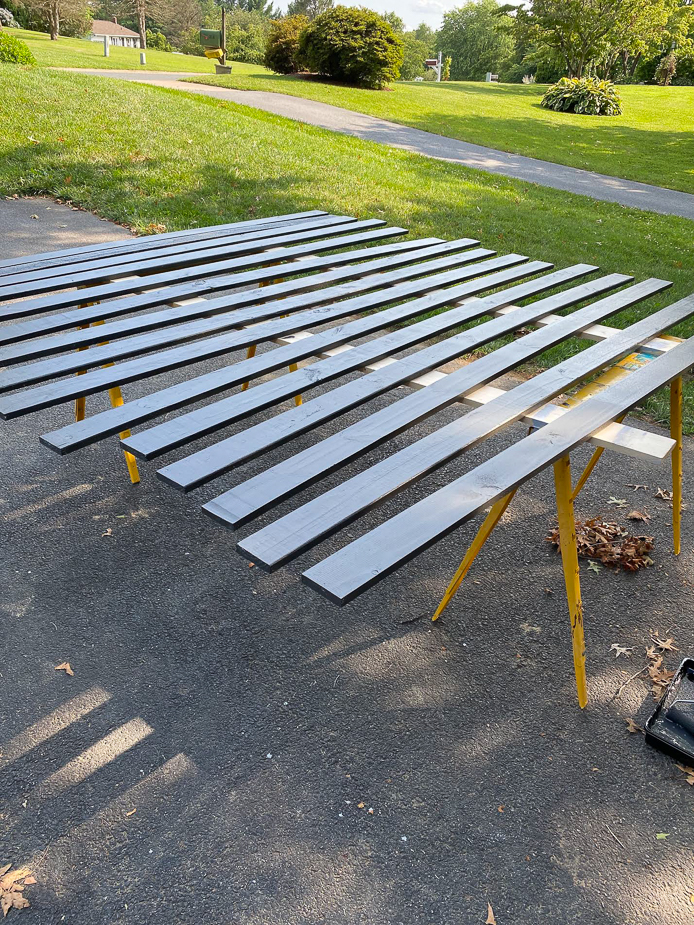
Set out two sawhorses and two boards to create a large table. Lay out the pressure-treated boards and apply a coat of exterior primer to both the front and back of the boards.
***TIP*** I had my primer tinted since I was using a dark paint color.
STEP TWO:
Apply two coats of exterior paint (I used Sherwin-Williams Iron Ore) to the front and back of the boards.
STEP THREE:
Decide how big you want your trash can screen to be and measure and mark the holes for your posts.
We made our screen 3 1/2' x 4'. This allowed us to limit waste and reduce the number of boards we would need to buy. One board was long enough for both the front and side of the screen.
STEP FOUR:
Use a post hole digger to dig three holes at least 12-18" deep.
STEP FIVE:
Place one 4" x 4" post in one of the holes, fill the hole with about a third of the bag of concrete then add water. Mix with the digging bar until the dry concrete mix is wet and has a thick consistency. Repeat until all three posts are in place. Use a level to make sure the posts are lined up and level then allow the concrete to harden for a few hours
STEP SIX:
Fill in the rest of the holes with dirt. Use the tamping end of the steel tamping and digging bar to make sure the dirt is tightly compacted.
STEP SEVEN:
Measure and cut one pressure-treated board for the front of the trash can screen. Allow an extra 3/4" overhang for the side board to butt up against. Use a level to make sure the board is level then nail into the posts using a nail gun. I used my Ryobi Airstrike nailer to limit nail/screw holes. You can always use a drill and screws if you prefer.
Use the other half of the cut board for the long side of the screen.
**Not all my boards were the exact length, so a few extra cuts were needed in order to keep the cut line even. ***
STEP EIGHT:
Use a spare piece of thin board (I preferred a smaller gap and used a 1/4" board) as a spacer and continue working your way up the wall attaching each board with nails (or screws) until all boards are installed. Do the same on the other side, making sure boards line up and are level with the front wall.
You can keep the screen clean and modern like I did or add post caps for a more decorative look.
We had to level the yard on side of the house, which caused us to dig up and disturb more grass than I intended. We laid topsoil and grass seed, so there is still kind of a mess on the side and back of the screen while we wait for the grass to grow.
I opted to keep the inside of the modern trash can screen as simple and budget-friendly as possible. My son leveled and laid six 16" concrete pavers then finished off the space with mulch.
Just imagine the dirt and topsoil is lush green grass, okay?
This simple and modern trash can screen was the perfect solution for hiding all our ugly outdoor necessities. There's space for the trash can, our Golden Retrievers tires and room to spare!
Now, I cross my fingers and pray I remember to water the grass seed!
- PROJECT COST BREAKDOWN-
- (6) Stepping Stones ($23.88)
- (3) 4" x 4" x 6' Pressure Treated Posts ($23.88)
- (15) 1" x 4" x 8" Weathersheild Boards ($89.70)
- 80lb Bag of Sakrete Concrete Mix ($6.37)
- Exterior Primer (tinted) $25.98
- Sherwin-Williams A100 (Duration was out of stock) Exterior Paint in Iron Ore (33.79)
- Paint Tray and roller ($6.38)
- Bag of black mulch ($3.48)
- Bag of topsoil ($2.67)
- Bag of grass seed (7.98)
- Jewel Boxwood ($11.35)
- (2) Annuals ($5.00)
- Owen's labor ($20) Yes, I paid my son for helping
- All other supplies were previously purchased from prior projects
TOTAL: $260.46


I LOVE this screen! I need it on my side yard.
ReplyDeleteWow, such a big difference with a small improvement! I am so impressed with the project - I thought it was just a screen from the front, but it looks great from all sides. Nice job, Katie!
ReplyDeleteGreat job! I love low maintenance I think I would use trex boards. More expensive but in the long run better.
ReplyDelete