Learn how to restore vintage frames and mirrors and recreate ornate wood using super easy hot glue molds!
Last week, I bid on and won a beautiful vintage wood mirror.
It was trimmed out in ornate wood and the mirror was beveled and perfectly aged.
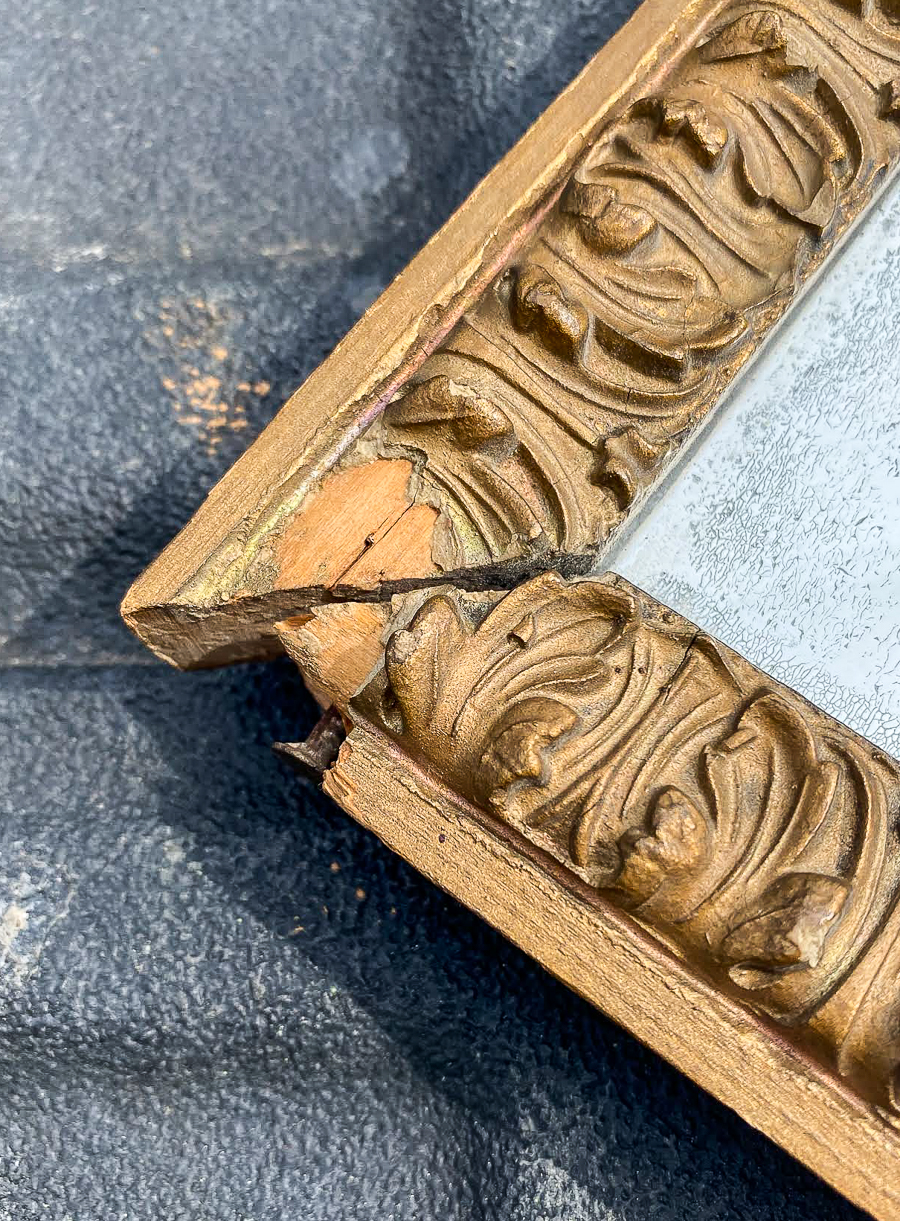
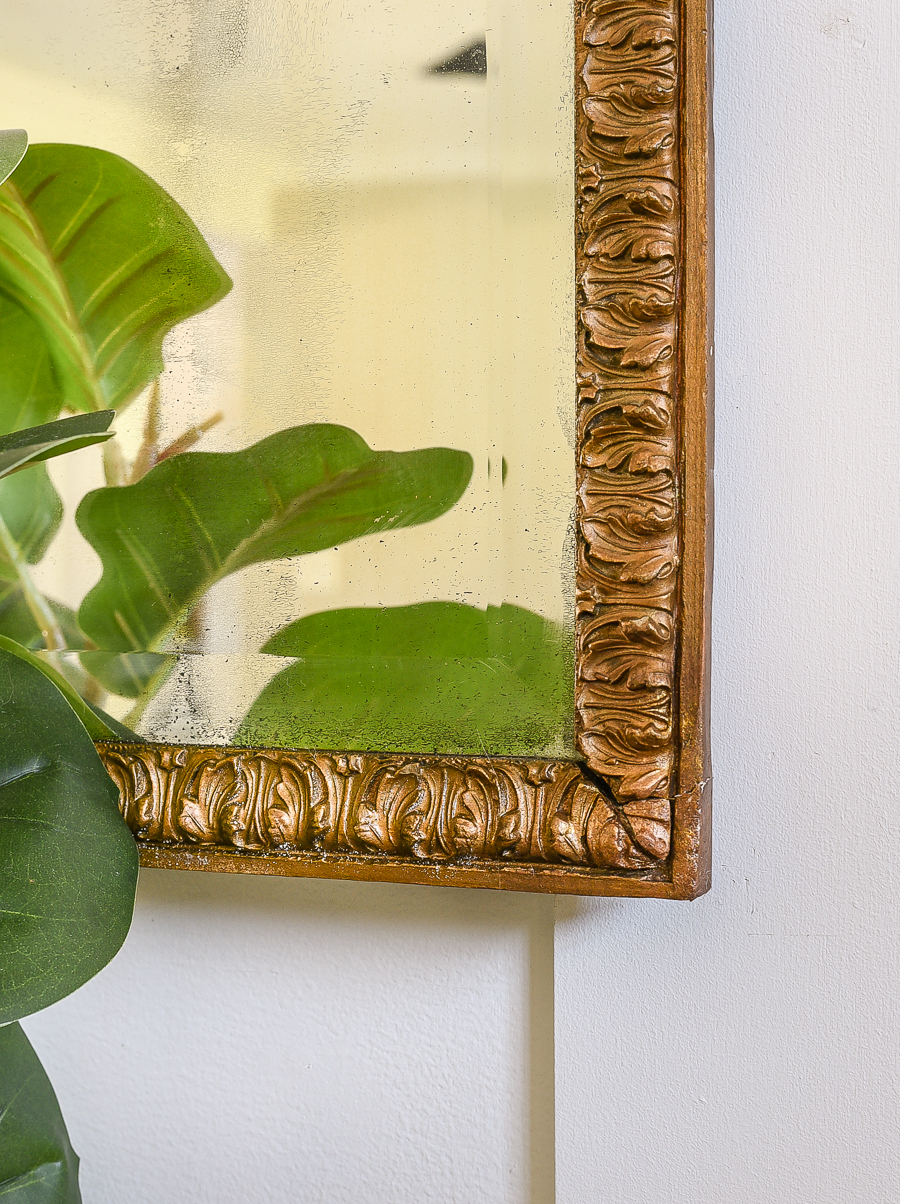
Unfortunately, the wood frame had a damaged and chipped corner, but I knew I could repair the corner and replicate the trim detail by making a super easy hot glue mold.
SUPPLIES NEED TO MAKE A HOT GLUE MOLD (AND MAKE REPAIRS TO A VINTAGE WOOD MIRROR)
- Vintage wood frame (I bought mine at an auction)
- Hot glue gun and glue sticks
- Pam non stick cooking spray (you can use
- Pan scraper or another straight edge
- Sandpaper (I also used my Ryobi Detail Sander)
- Cutting board
- Craft brush
- Paper plate
- Pencil
HOW TO REPAIR A DAMAGED MIRROR AND MAKE A DIY HOT GLUE MOLD
Let's take a closer look at the damaged wood and what I was working with.
I actually didn't mind the damage and liked the character it added to the mirror, but since this mirror wasn't for me, I moved ahead with repairing the damaged wood.
STEP ONE:
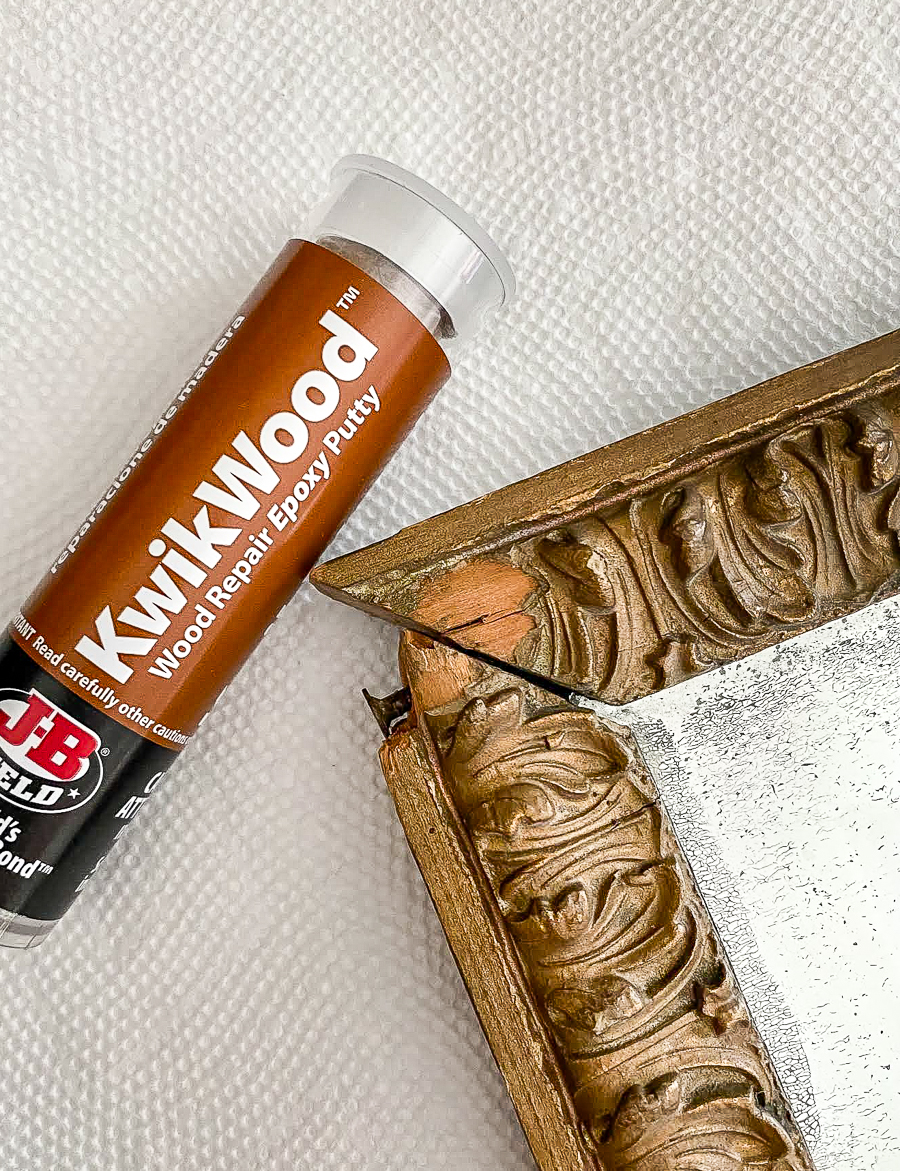
Break off a small amount of Epoxy putty and knead together until completely combined. Apply a small amount of putty to the area that needs repairing. Use a pan scraper or other straight edge to smooth out the epoxy to minimize the amount of sanding required once dry.
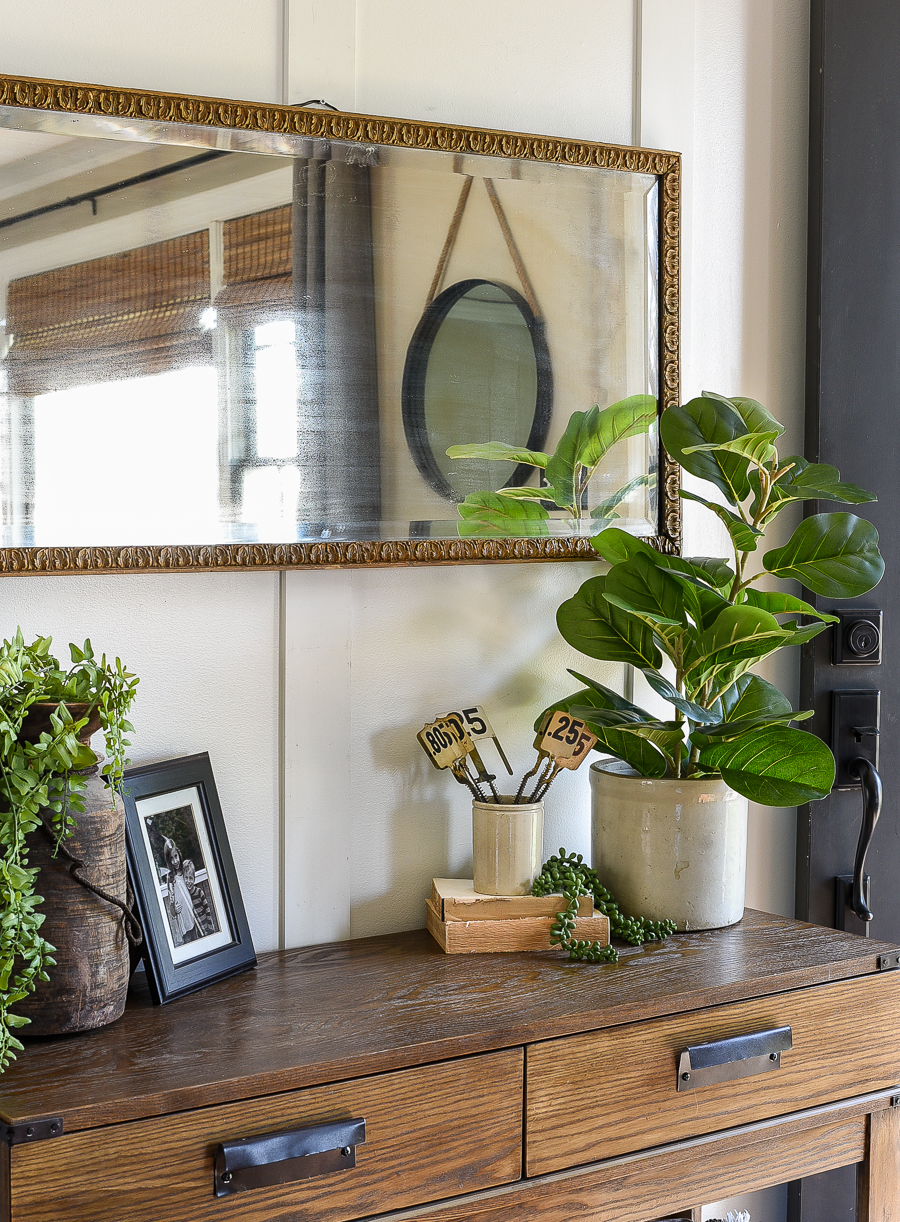
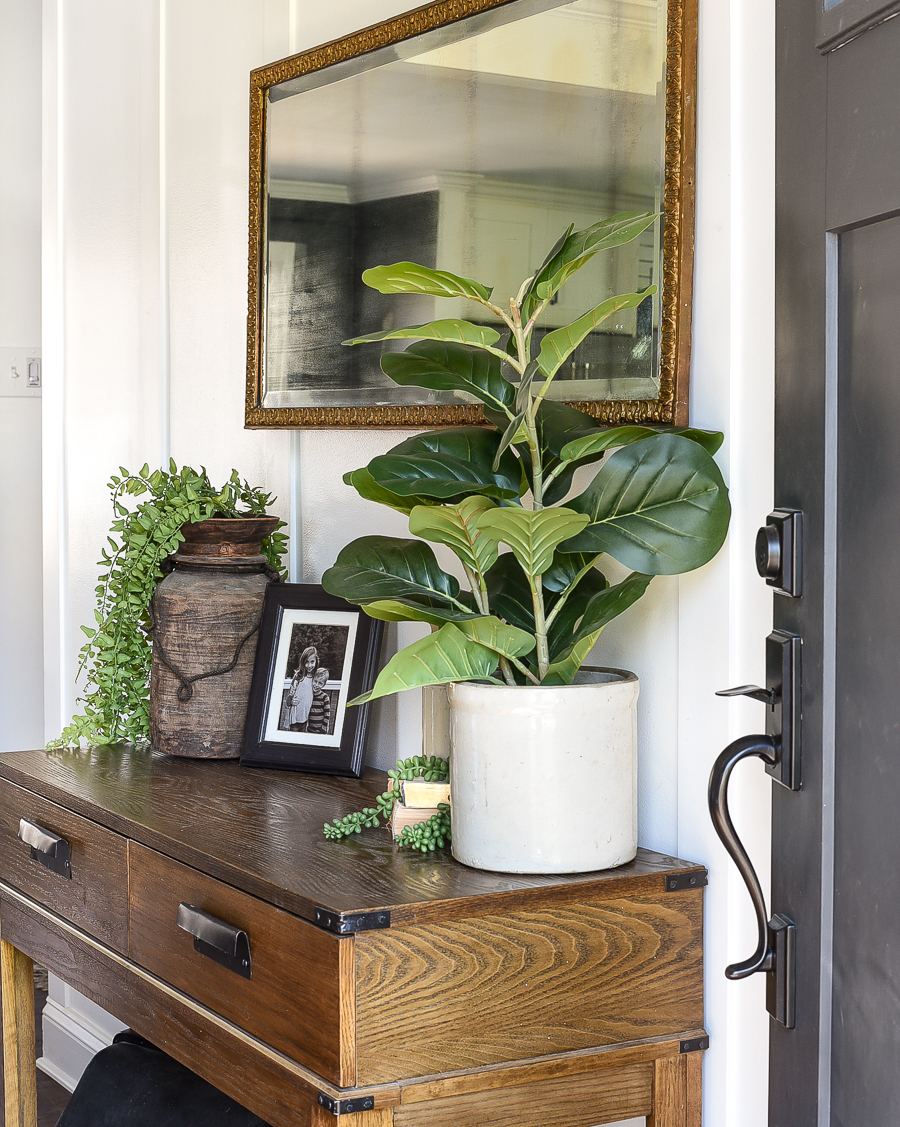
I really didn't plan on keeping the mirror, but once I hung it up I had second thoughts. It beautifully compliments my other decor and makes a great vintage addition to my home.
STEP TWO:
Determine the area where you want to create a mold and spray with Pam or another mold release/blocking agent. I used Pam because I had it on hand, it's inexpensive and it works just as well.
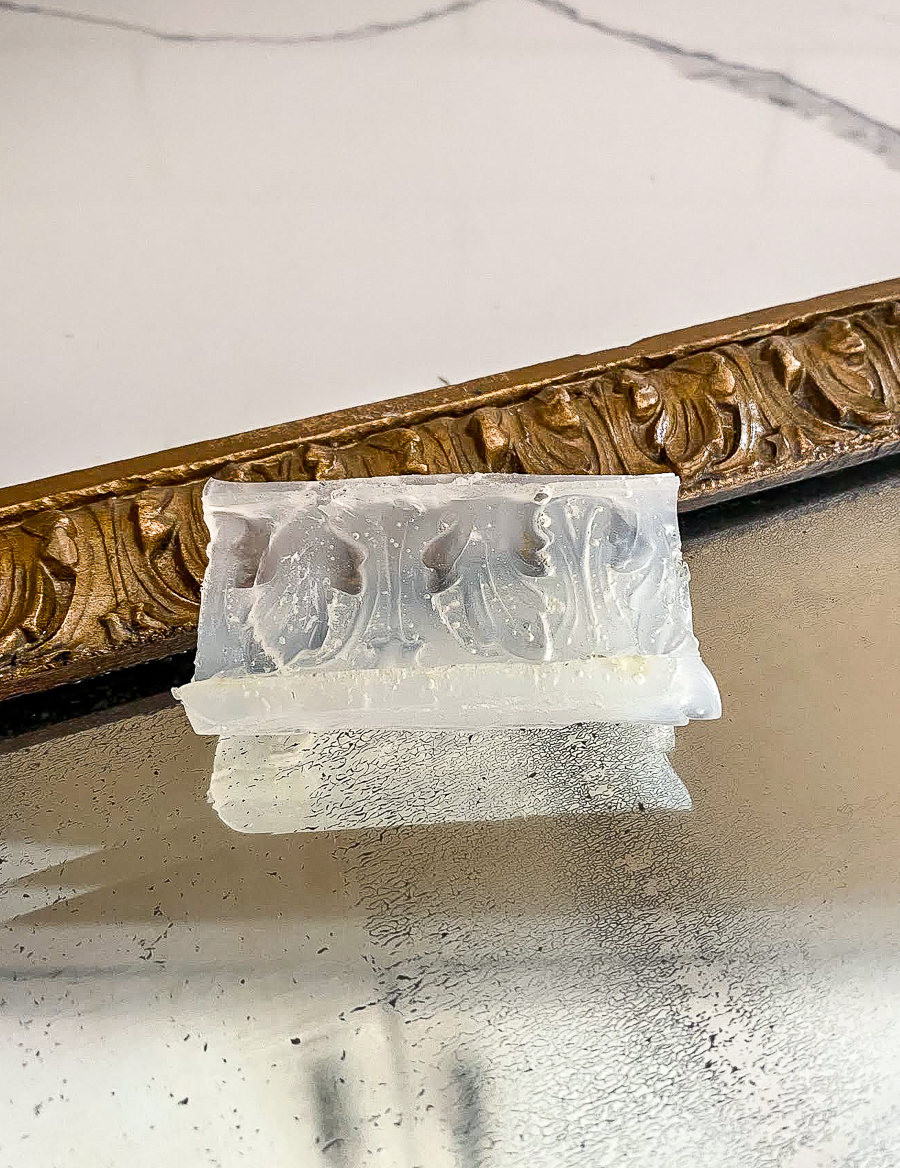
Apply a generous amount of hot glue over the Pam and allow it to dry completely. If needed, apply a second layer of hot glue. Once dry, carefully peel hot glue away from the wood (or other surface) to reveal your new hot glue mold.
STEP THREE:
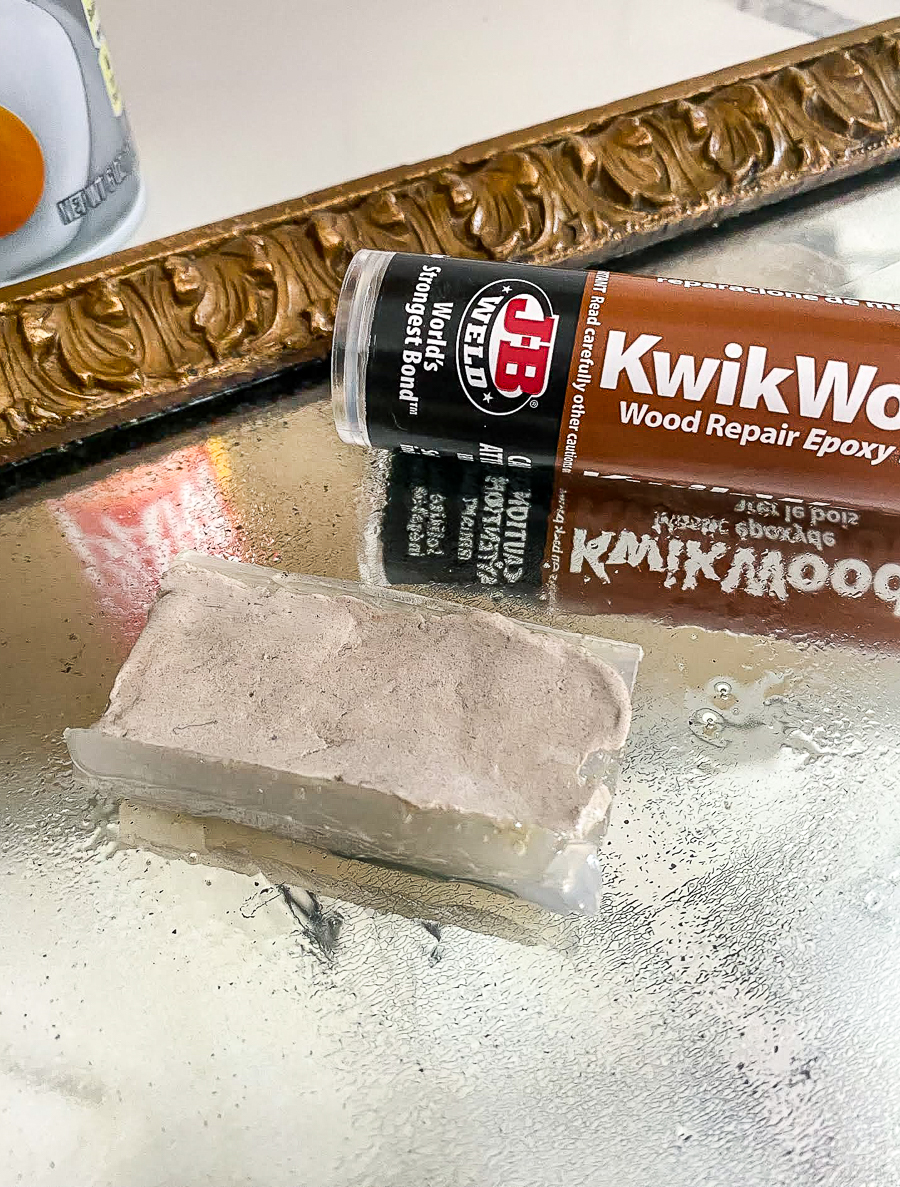
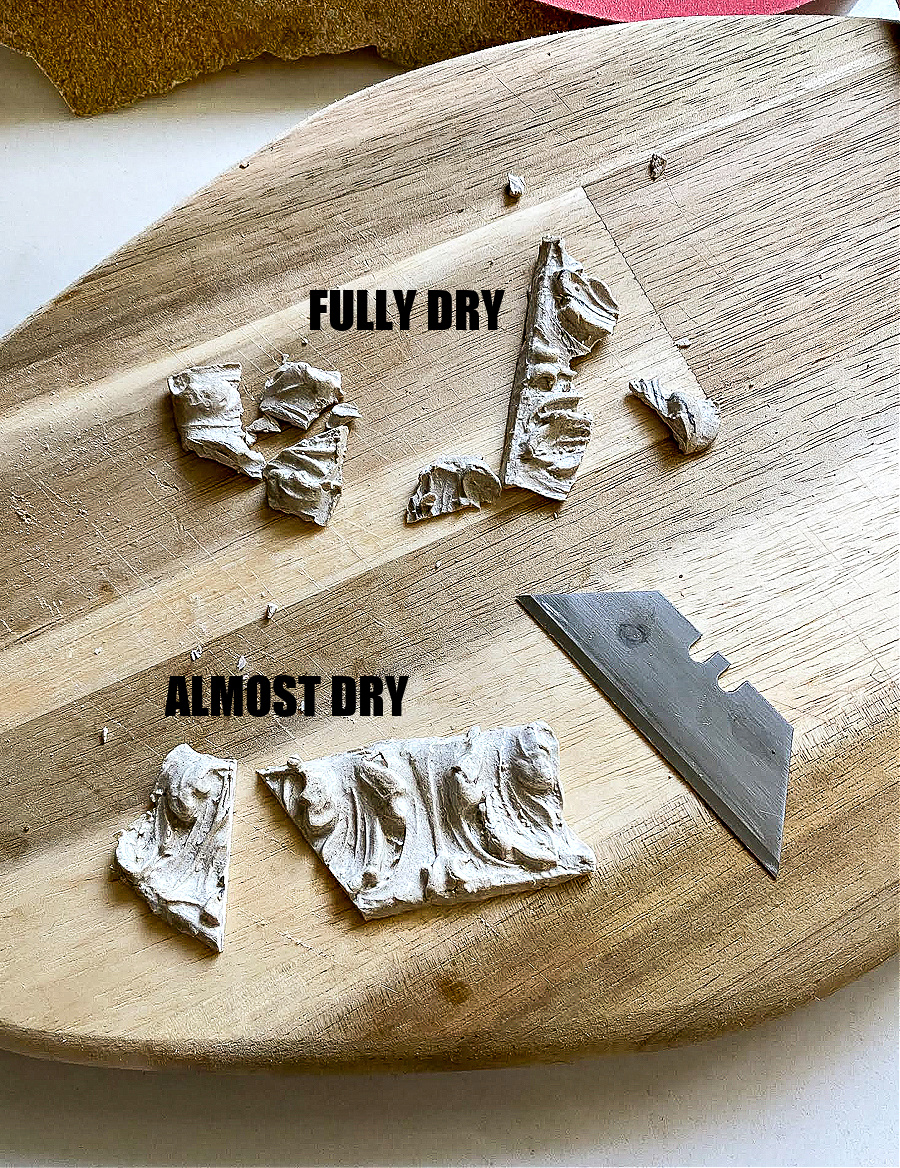
Spray the inside of the hot glue mold with Pam (or another blocking agent) then fill the mold with a thin layer of epoxy putty. Allow the putty to dry completely then carefully remove the cast from the hot glue mold.
*** IMPORTANT*** If you need to cut or manipulate the cast in any way, Do NOT allow the epoxy putty to dry completely. The cast will be much easier to cut and work with when it is semi-hard and not fully dry (see picture below).
STEP FOUR:
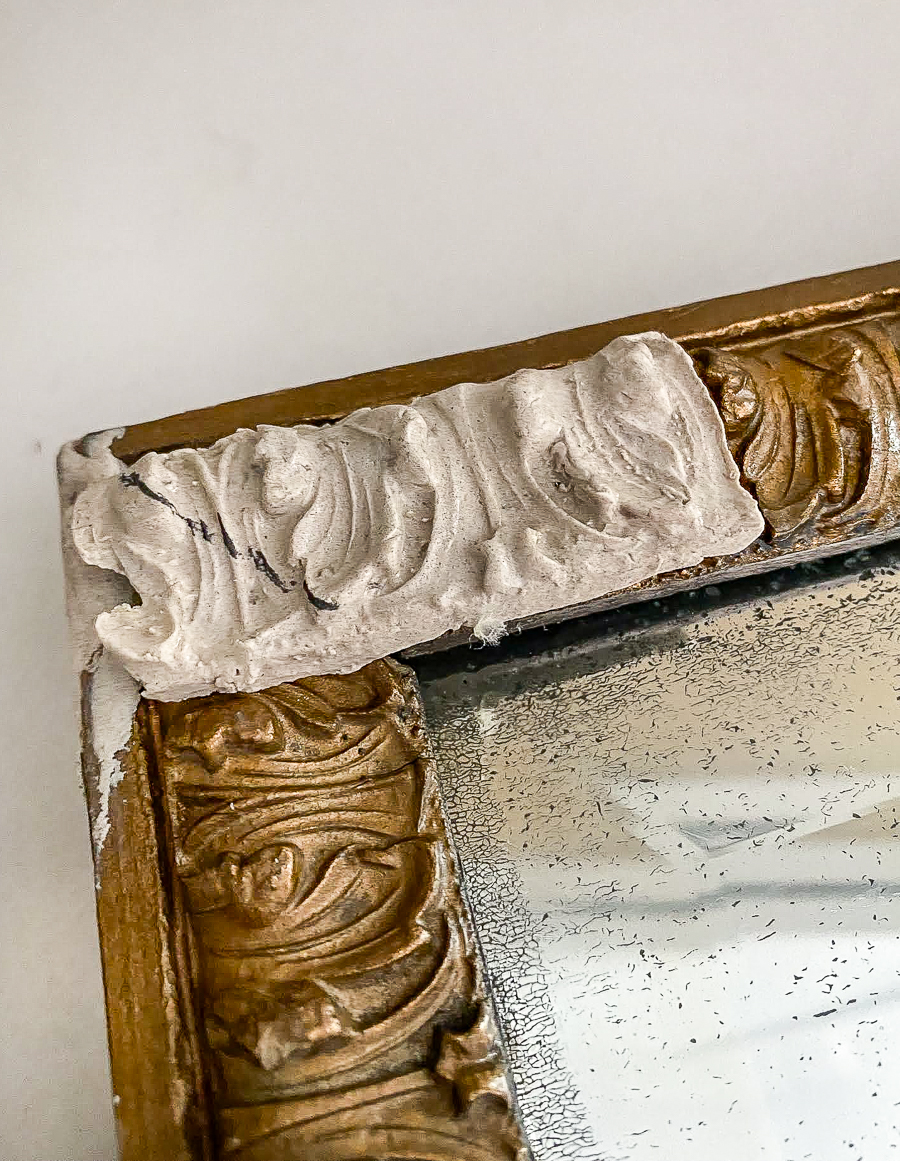
Since I was trying to replicate the missing decorative molding, I used the new wood putty cast trim piece as a template by placing it over the missing trim and marking where I needed to make cuts.
STEP FIVE:
I sanded and dry fit the new trim pieces then attached each one to the frame using Rapidfuse all purpose adhesive. I allowed the glue to dry then sanded the frame to smooth out the corner repair.
STEP SIX:
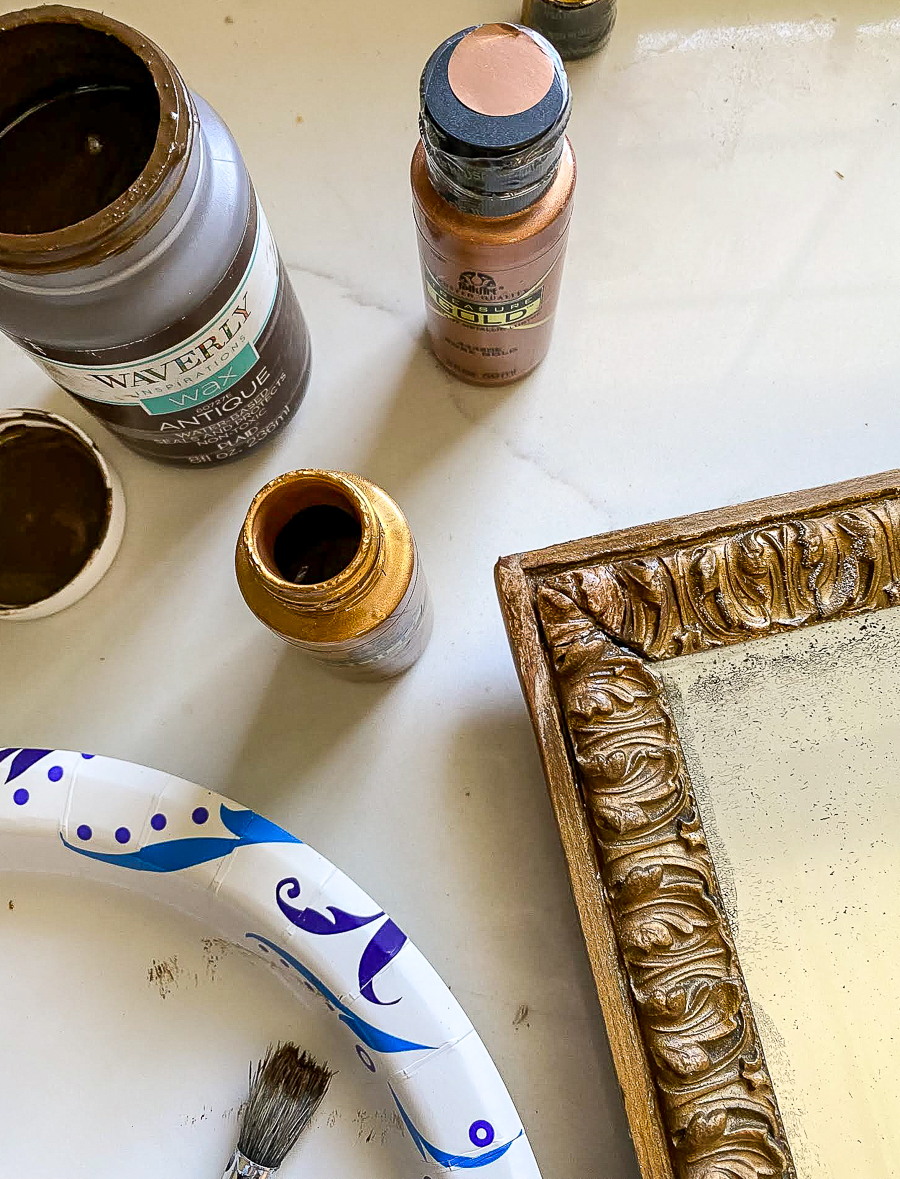
Now it was time to make the repair look exactly like the rest of the frame. I grabbed my dark antique wax and a bunch of metallic craft paint and started layering and mixing colors until I was happy with how the repair blended with the original frame and color.
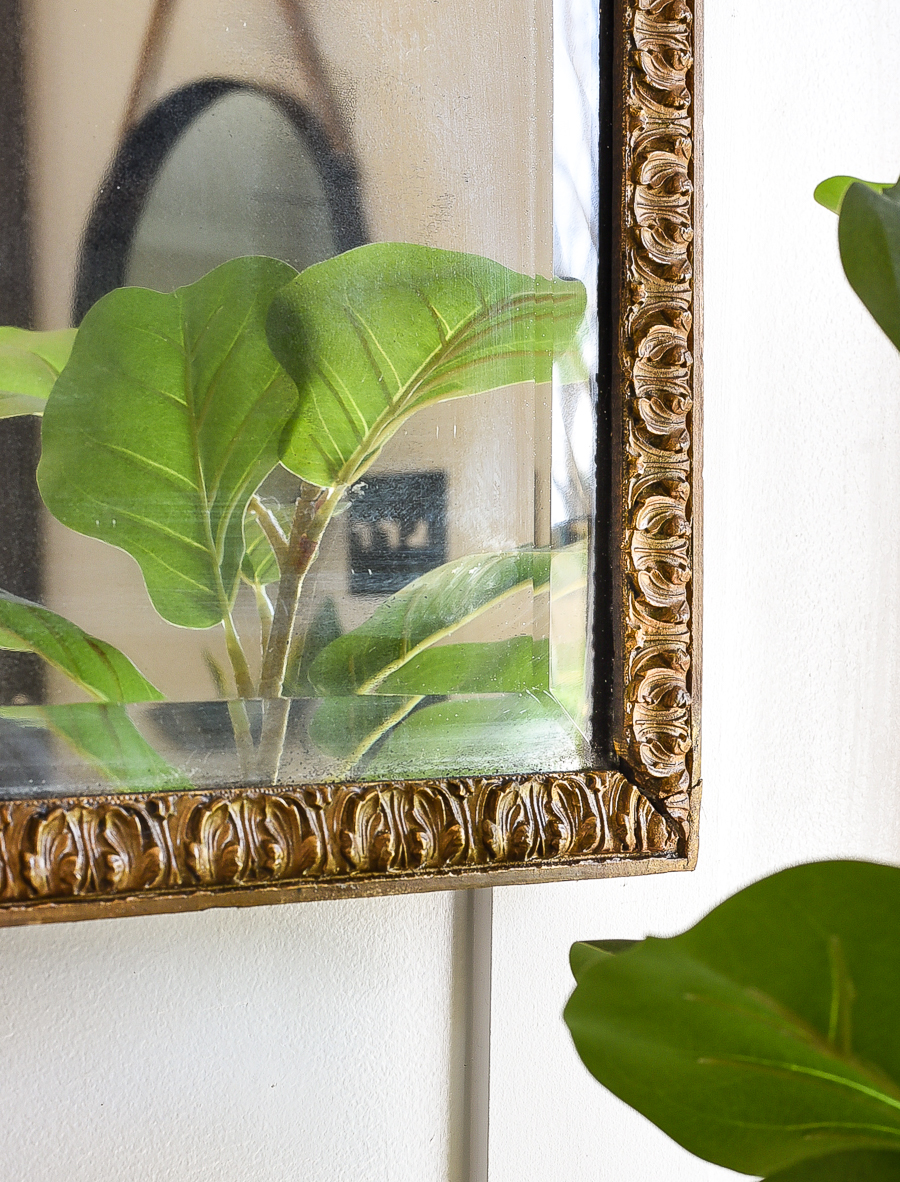
The repair isn't perfect, but it's darn near close and fits in beautifully with the imperfections and character of the original molding.
I think I'll enjoy it in my entry for a few weeks before taking it with me to an upcoming market to pass along for another vintage lover to enjoy.
Do you love the look of vintage mirrors? Thrift stores, vintage shops, Facebook marketplace, auctions, ETSY and eBay are great sources for scoring your own authentic vintage mirrors.










.png)


Thats amazing. Didn't know you could do that with hot glue.
ReplyDeleteI can't believe it! It really does blend in well. Who knew you could make a casting with hot glue? I might have to try that on a frame that has a lot of "character" 😉 The damage on mine also is on the corner - wondering why you used the side instead of another corner to get the shape.
ReplyDeleteUnfortunately, the pattern of the other corners on the frame didn't match exactly to the corner that was damaged. I had to make a mold of an area that matched the pattern of the missing piece.
DeleteVery impressive repair. Most places are unwilling to repair old frames so if you can do it yourself you are saving a beautiful piece!
ReplyDeleteI wondered why you didn’t just use the pattern from another corner…I just read the message you added and now understand. I buy this stuff to make molds and usually use that…can’t think of the name of it right off but it doesn’t matter. I’ve always wanted to try using the hot glue and haven’t played with it yet. Yours did a beautiful job of replicating what you needed! I totally love that frame too!
ReplyDeleteSo impressed! I have an antique mirror that needs this exact remedy! Thanks you for sharing. I wish I could find online auctions here in AZ.
ReplyDelete