Learn how to turn a small dated dresser into the perfect industrial-inspired chest!
I know I said I've been staying off Facebook Marketplace lately, but every once in a while I hop on and see if anything catches my eye.
I usually scroll quickly and look for something affordable and easy to update.
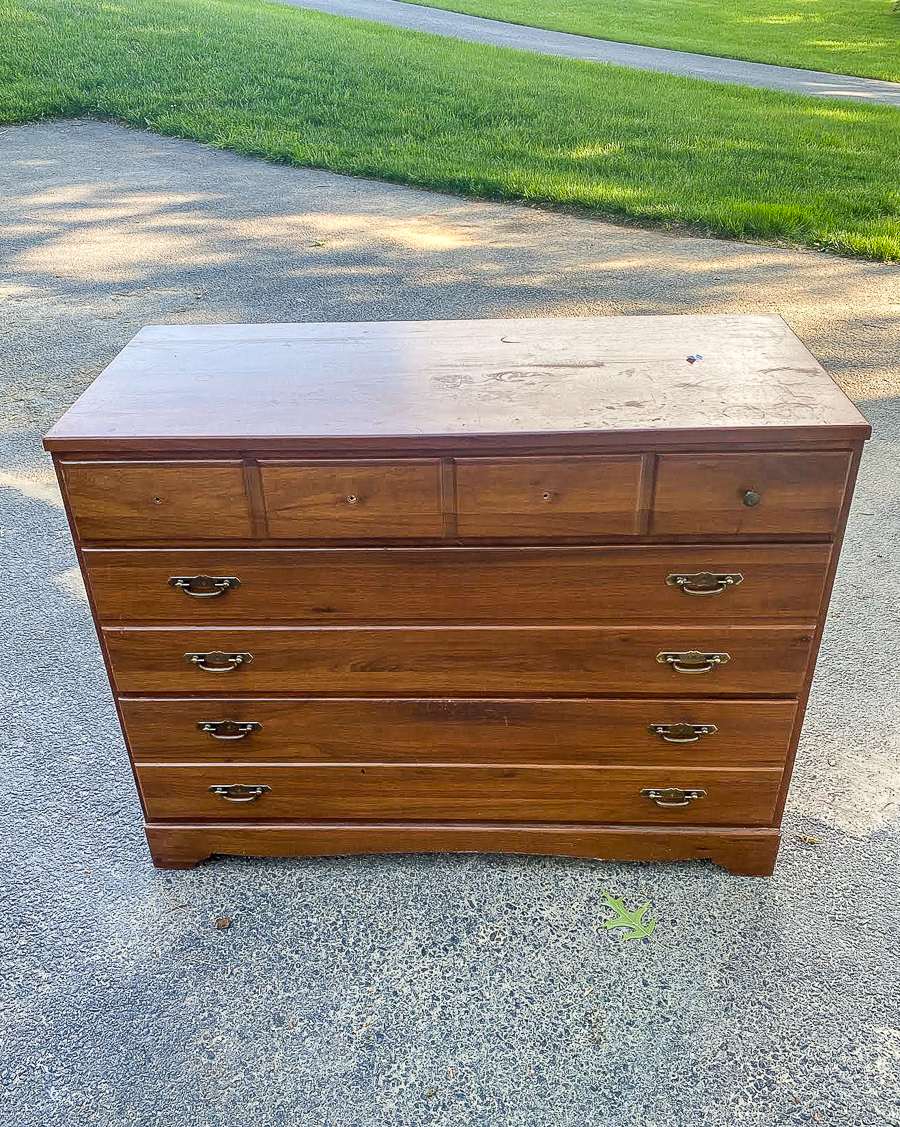
The other day, I stopped my scroll when I came upon a $15 solid walnut dresser. It was local, super affordable and I knew it would be an easy piece to transform into an industrial-inspired chest.
SUPPLIES NEEDED TO UPDATE A DATED DRESSER
- Dated and/or thrifted dresser (I found mine on Facebook Marketplace)
- 1" x 4" x 8' board
- Fusion Mineral Paint (I used Hazelwood)
- 150 and 320 Sanding Pads
- Dewalt Drill with Drill Bits
- Screwdriver
- Hardware
- LA's Totally Awesome (Dollar Tree sells this cleaner too!)
- Paper Towels
HOW TO PAINT AND UPDATE A DATED DRESSER
Small and dated three-drawer dressers are great candidates to turn into industrial-inspired chests. They're usually affordable, easy to modernize and the petite size makes them super versatile.
I loved that this one had a maker's mark and was made from one of the best and most sought after woods, walnut.
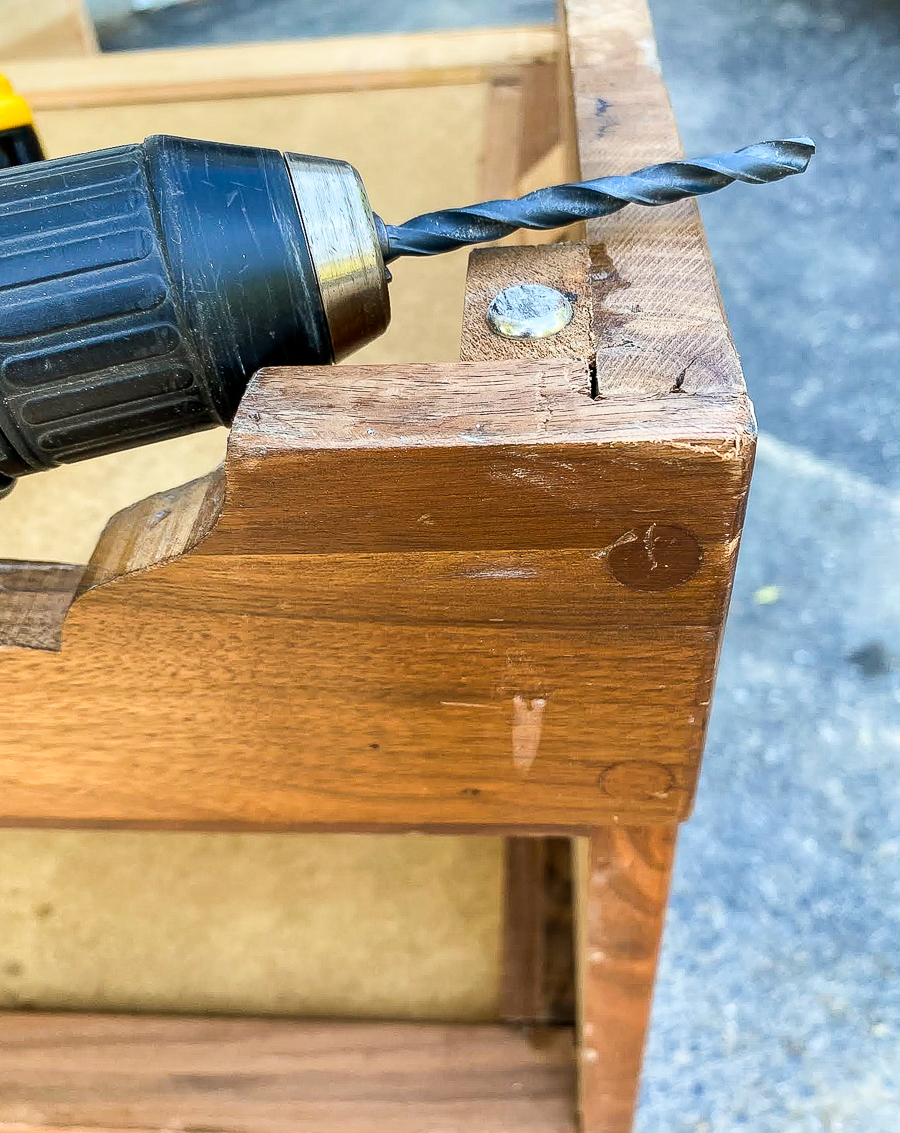
Because this dresser was so well made, the curvy dated trim on the bottom of the dresser was a little more tedious to remove. Less expensive furniture brands usually attach trim with a few screws that are easily accessible from under the furniture. The trim on this particular dresser was attached from the front and then covered with flat stained furniture plugs.
I find it easiest to use a drill and a large drill bit to remove this style of wood furniture plug.
Slowly and carefully drill out the wood plug, being cautious not to damage the screw underneath. If you drill too fast and too hard then you could damage the screw head that's under the plug, making it difficult to remove.
Once the wood plug is drilled out, it's easy to remove the screw with a drill or screwdriver.
After I had the curvy trim piece removed, I cut a new piece of wood for the front of the chest and then attached it with wood glue and a nail gun.
I filled all the old hardware and nail holes with Kwikwood Epoxy, gave the entire dresser a good sanding with 150 grit sandpaper then wiped it clean with my favorite cleaner.
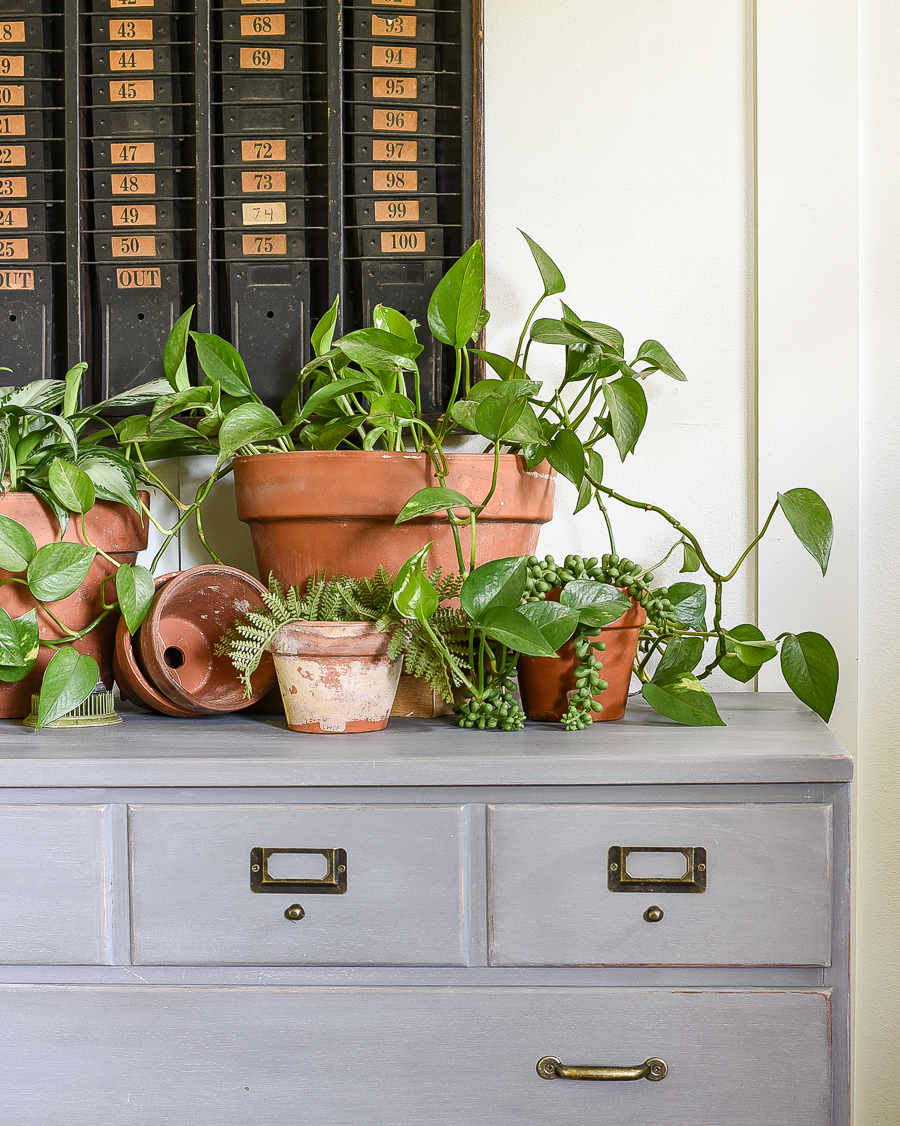
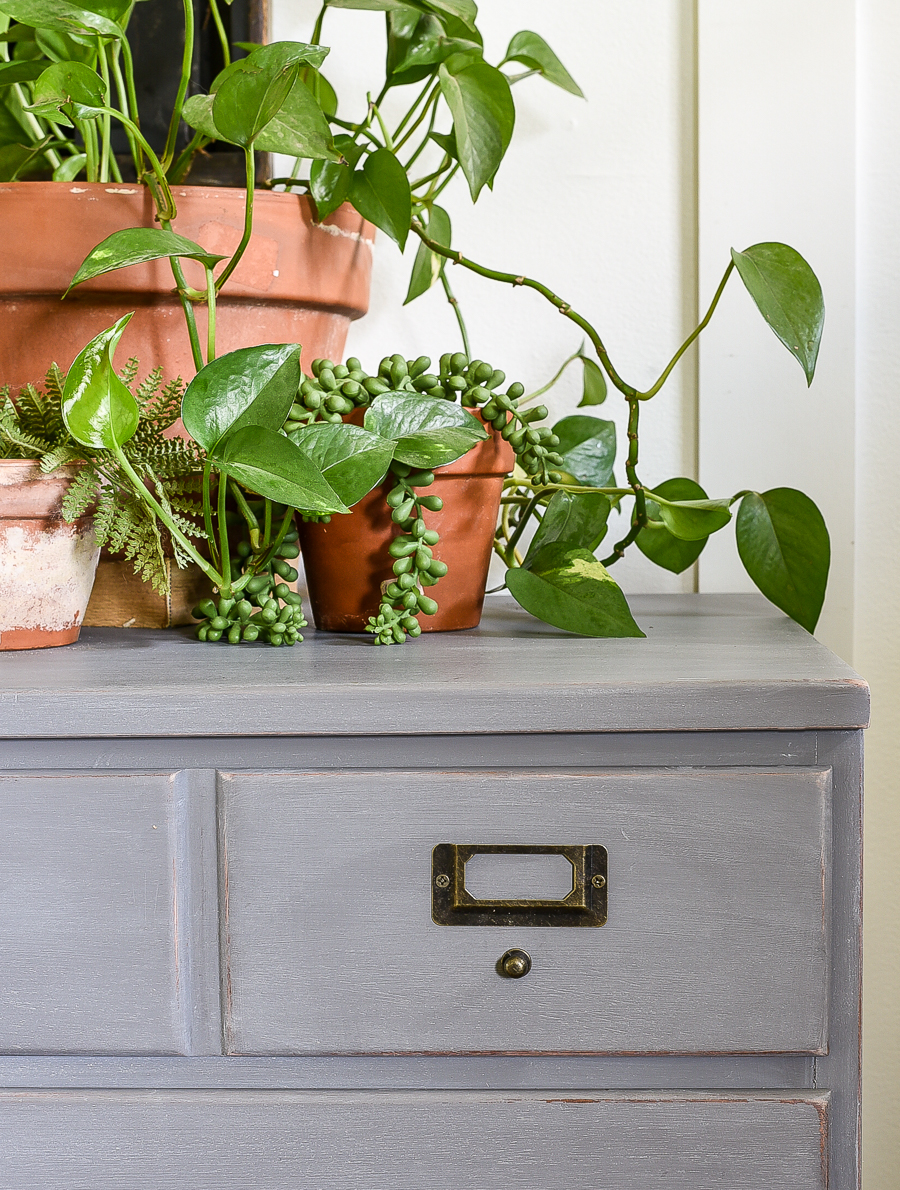
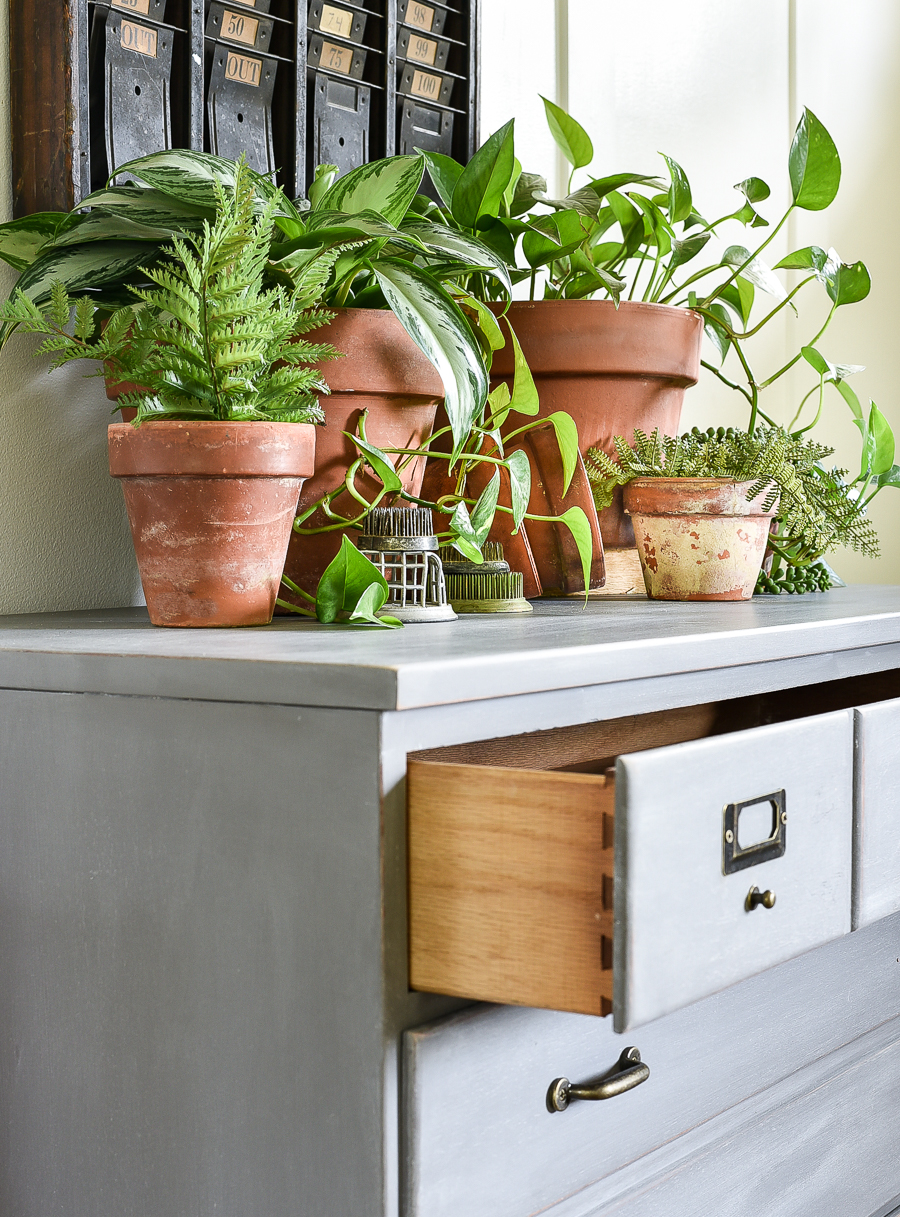
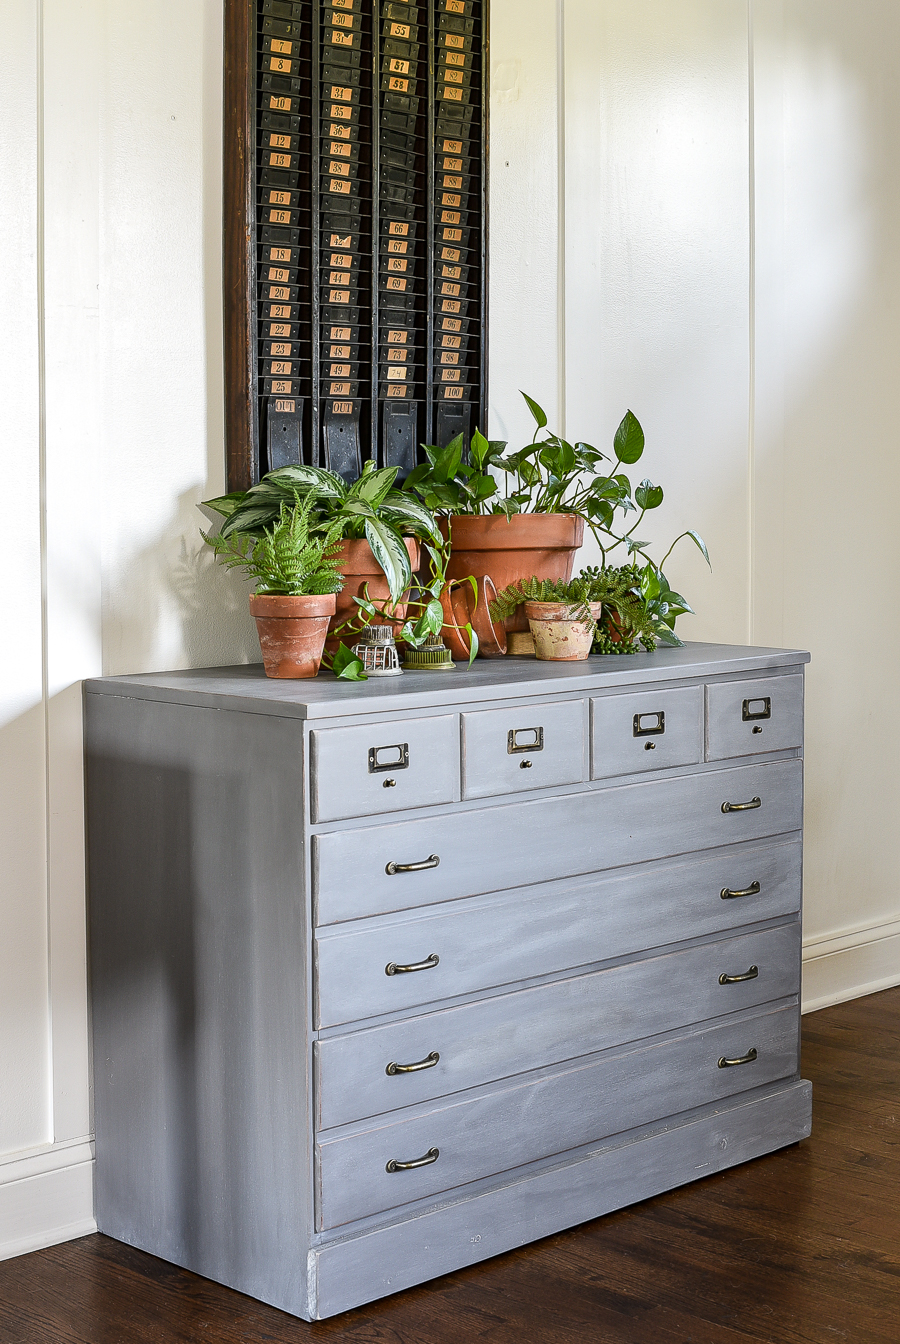
After I thoroughly cleaned the dresser, I applied two coats of Fusion Mineral Paint Hazelwood, lightly distressed the edges then wiped on Cerusing wax with a lint-free cloth. I love how the Cerusing wax gave the paint a white-washed look, adding a little depth and dimension.
New hardware finished off this piece, helping it transform from a dated small dresser to the perfect industrial-inspired chest.
From an entryway piece or TV stand to the perfect stylish craft or office storage. Turning this small dresser into a chest makes it so much more versatile and perfect for just about every room in your home!






.png)


