Learn how to turn a dated wood wall calendar into a cool antique hymn board!
Yup, you read that right? We're going to turn a dated wood wall calendar into an antique hymn board.
A couple years ago, I was incredibly lucky to score an antique hymn board from a local auction. In the many years that I've been thrifting and picking, I have never come across another antique Hymn board. It quickly became one of my favorite treasured finds that I don't ever plan on selling.
Antique hymn boards may be hard to find, but today I'm sharing how you can turn a dated wood wall calendar into your very own antique hymn board!
While out thrifting last week I came across a wood wall calendar that instantly caught my eye. I wasn't necessarily looking for one, but as soon as I saw it I knew I could turn it into a hymn board.
SUPPLIES NEEDED TO TURN A DATED WOOD WALL CALENDAR INTO AN ANTIQUE HYMN BOARD
- Dated wood wall calendar (I found mine at Goodwill)
- Sanding pads for sander (80/120/150 grit)
- Hammer
- Wood Stain (I used Special Walnut and Espresso)
- Foam brush
- Paintbrush
- Drill and small drill bit
- Tape measure or ruler
HOW TO TURN A DATED WALL CALENDAR INTO AN ANTIQUE HYMN BOARD
Before I get to the steps of how I turned a dated wood calendar into an antique hymn board I want to point out that I was winging this project as I went. I learned along the way, so the order of steps is a little different from how I worked on the project. Basically, do as I say and not as I did 😜 .
Okay, now that that's out of the way, let's get to making a cool antique hymn board!
STEP ONE: FIND AN OLD WOOD WALL CALENDAR
The first thing you need to do is go thrifting and look for an old wood wall calendar. Wood wall calendars were common in kitchens during the 80's and early 90's. They have since faded out of style and are now relatively easy to find at thrift stores, yard sales and flea markets.
Look for a calendar that is real wood and has a shape and style of an old hymn board. I would pass on calendars that have a very curvy 80's vibe. You can easily remove painted pictures and change the color of the wood, but it's not as easy to change the shape.
The wall calendar I found at Goodwill was on the smaller side, but it was simple, easy to update and half off! It was the perfect piece to turn into an antique hymn board.
STEP TWO: REMOVE WOOD DETAILS AND PREPARE WOOD FOR SANDING
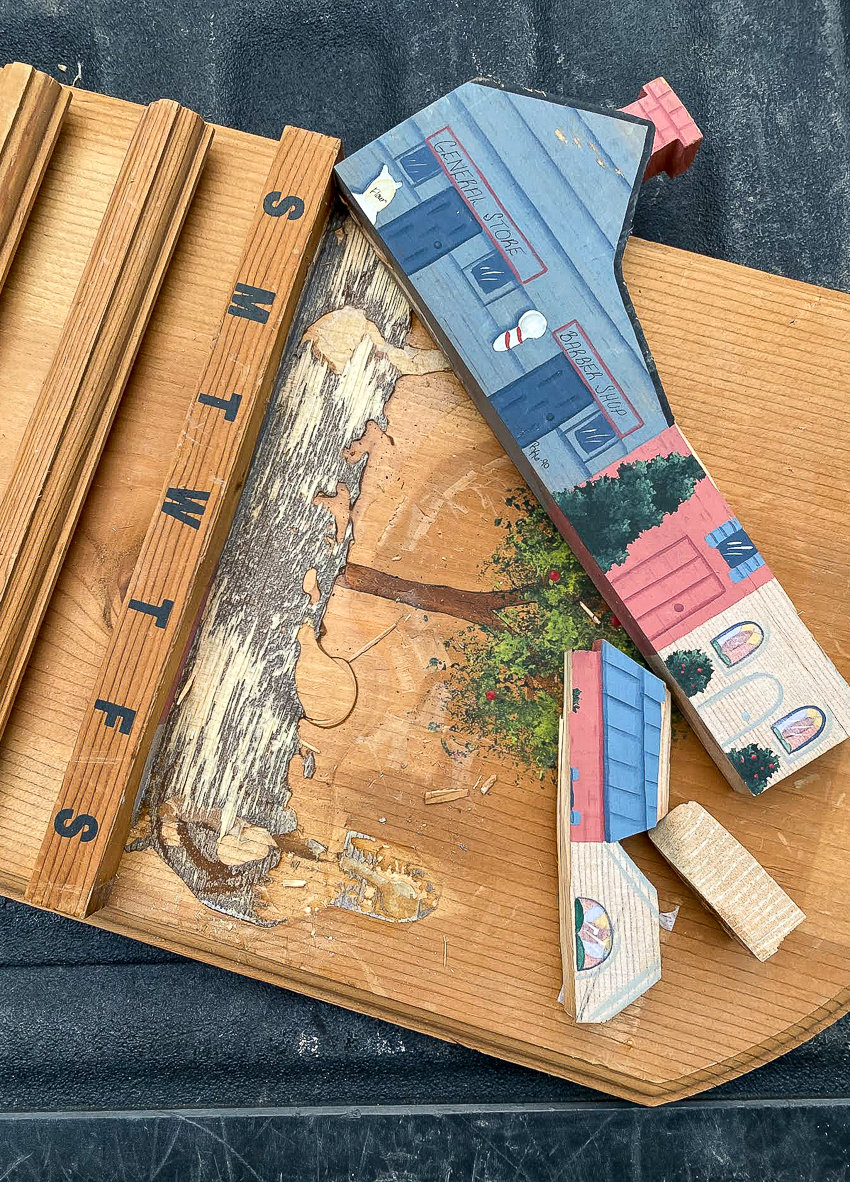
Luckily the majority of the pieces I wanted to remove were attached to the main piece of wood with screws, unfortunately, the decorative houses were glued on and a little trickier to remove.I started by unscrewing the hooks on the front then used a sharp chisel and hammer to very carefully remove the wood houses.
It's okay to have glue left on the board, this can easily be removed with a sander. You want to try and avoid gouging and damaging the wood under any added decorative glued-on pieces.
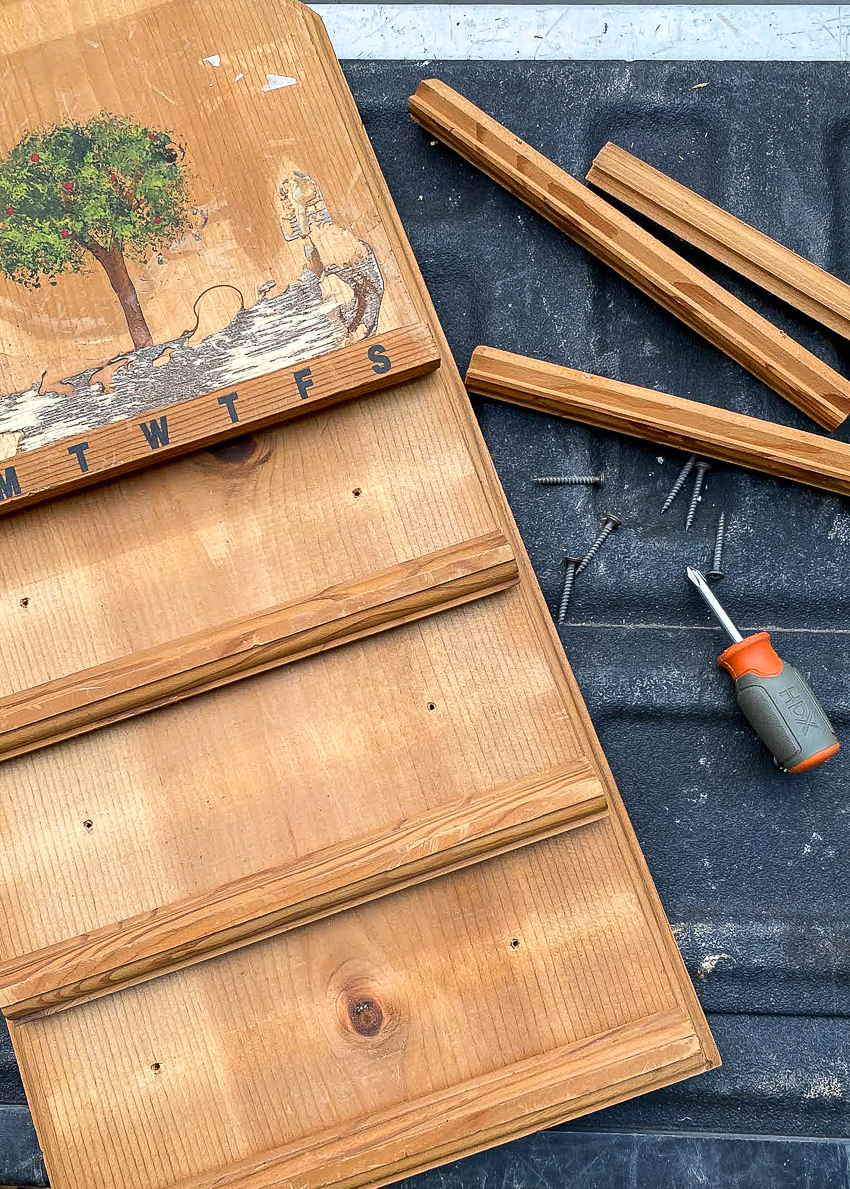
Once I had the front complete, I flipped the board over and removed the screws that attached the wood strips.
STEP THREE: FILL HOLES WITH WOOD FILLER
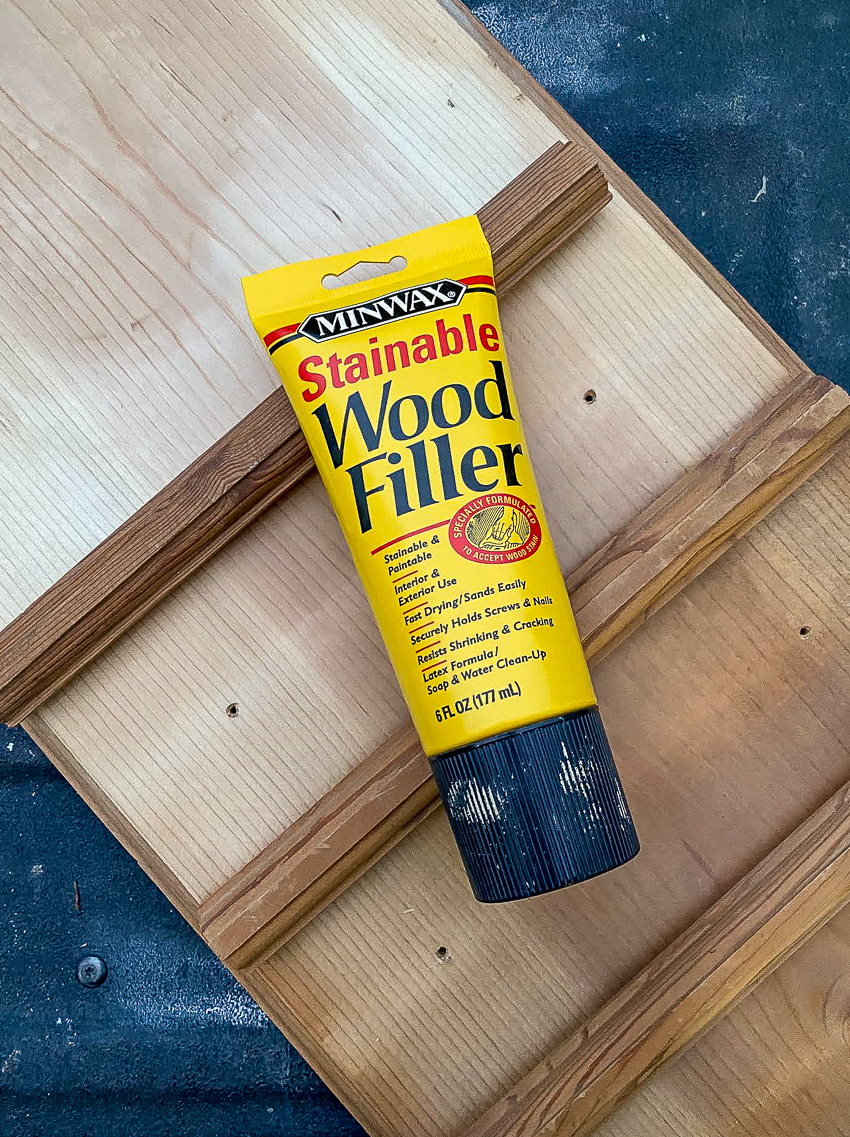
Before sanding the board, I filled any holes (that I wasn't reusing) with stainable wood filler. It's very important to use stainable wood filler if you plan on staining your hymn board after sanding.
STEP FOUR: SAND
I used 80-grit sandpaper to remove the dried glue that was left after prying off the houses. This step will take a little time and you will more than likely go through a few sanding pads as the glue will begin to gum up the pads.
Once the glue was removed, I changed to a 150-grit sanding pad and sanded the rest of the board until the original stain was removed and the board was smooth.
TIP: If the board you are working with has a dark stain, you may need to use a lower grit sandpaper (60 or 80 grit) on the entire board and then work your way up to a higher grit.
Helpful Resource: Furniture Sanding 101: How to Sand Wood Furniture
STEP FIVE: STAIN
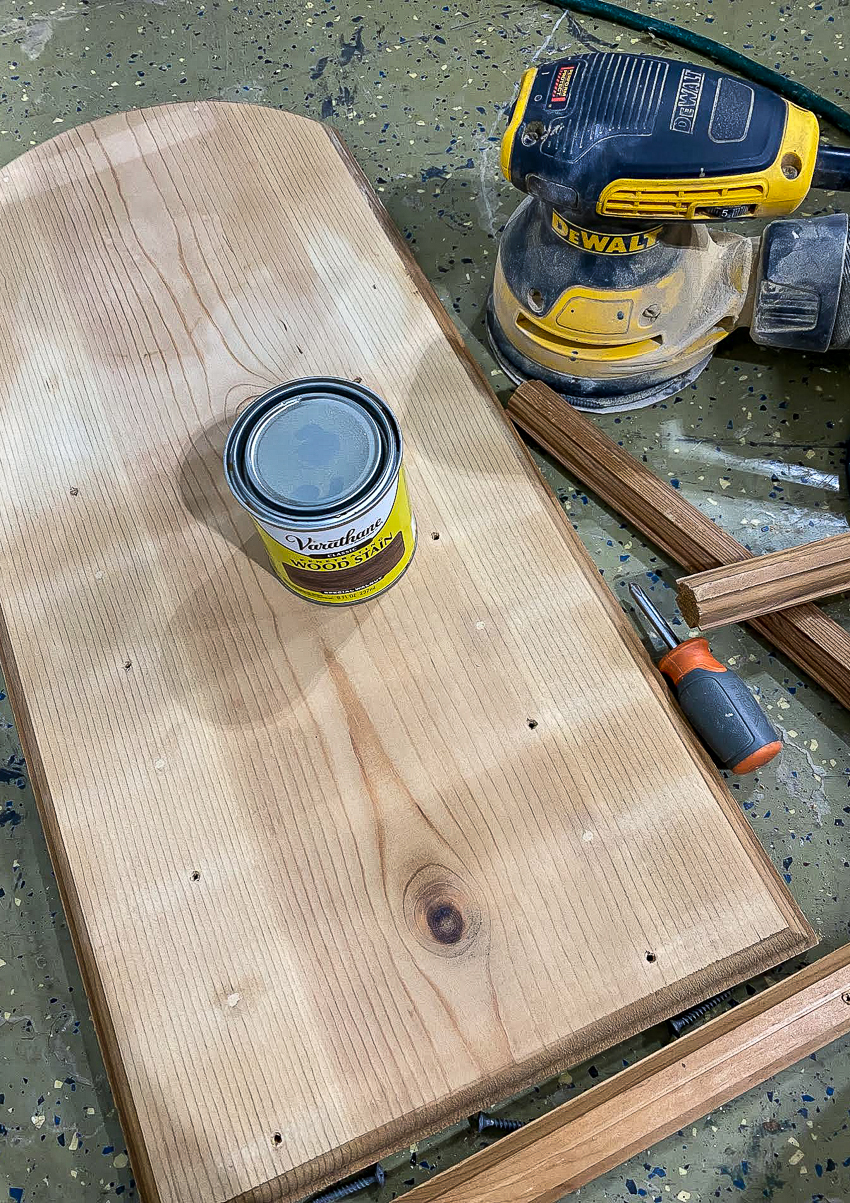
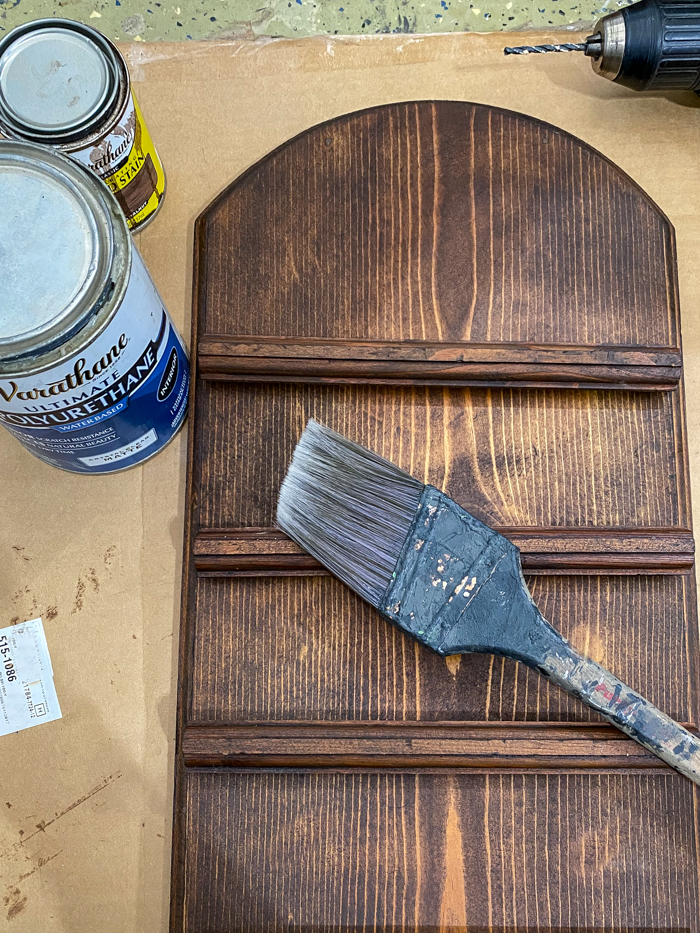
I wanted to use wood stain I had on hand, so I applied a layer of Special Walnut, let that dry then added a coat of Espresso.
I chose not to distress my Hymn board, but if you prefer a distressed look then now would be the time to lightly sand and distress.
STEP SIX: ASSEMBLE HYMN BOARD
Once the stain was dry, I reattached the trim pieces that held the numbers and letters in place.
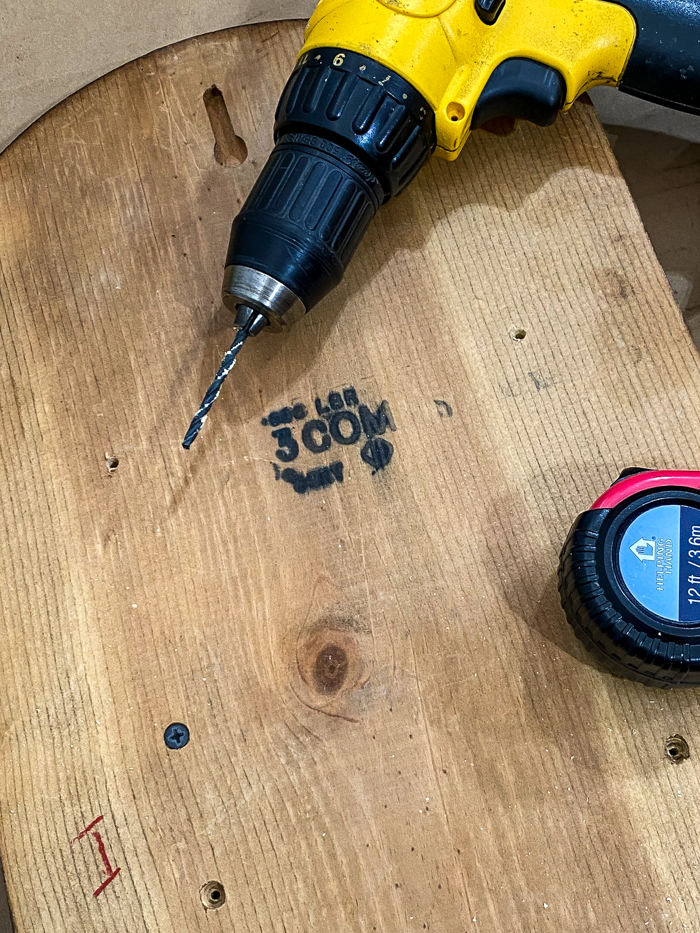
I wanted to add another row to my board, so I drilled new holes and attached one of the trim pieces that I removed earlier. This helped fill the large gap that was left after removing the decorative wood houses.
STEP SEVEN: SEAL
After I had my hymn board assembled, I applied two coats of water-based poly in a matte finish.
STEP EIGHT: EMBELLISH AND HANG
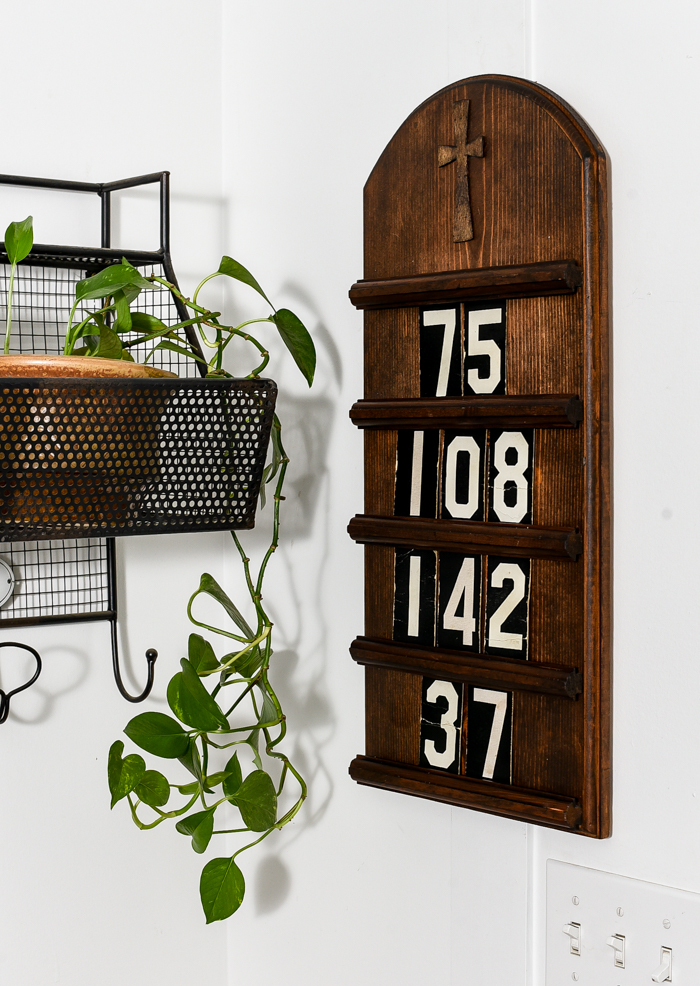
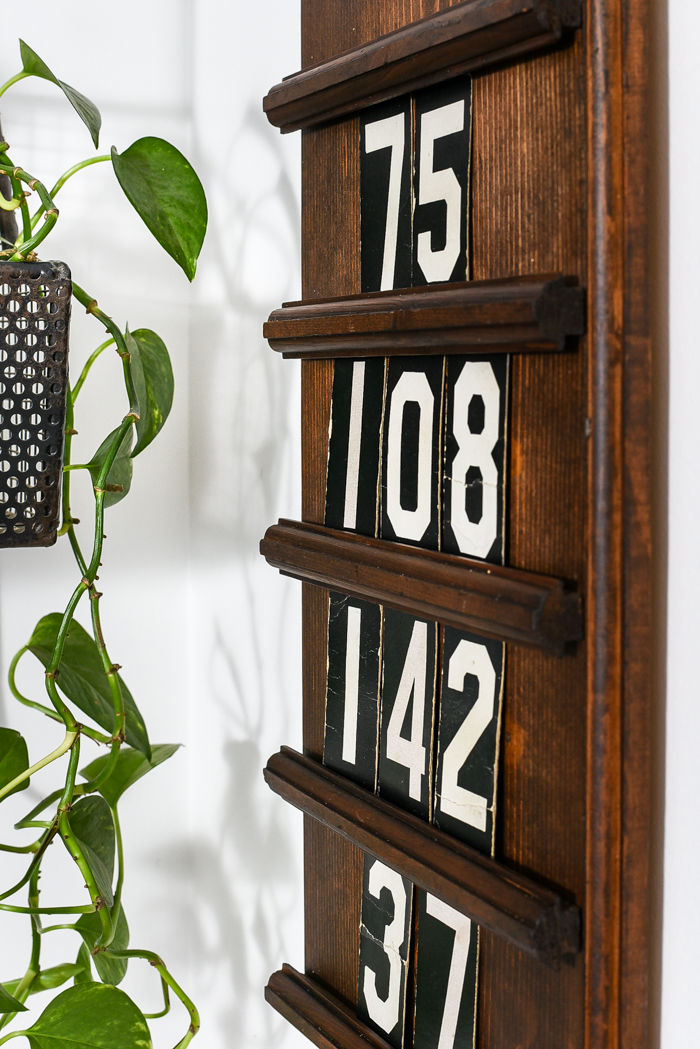
I wasn't planning on adding anything else to my hymn board, but I couldn't shake the feeling that it was missing something. I decided to cut a cross out of thin scrap wood, which I attached to the top of the board using spray adhesive. I finished off my board with vintage hymn board numbers and hung it in my mudroom.
I've updated and transformed many thrift store finds, refinished, painted and updated countless pieces of furniture, but this dated calendar turned antique hymn board is by far my favorite.
What do you think? Does it resemble an authentic antique hymn board?

.jpg)








.png)


Hi there, I saw your antique hymn board a couple weeks ago and was just in complete love with it! I was even going to write to you and ask about it, but things get going, life gets going and time passed. I just hit on your blog and I have to say Thank You so much for showing us how to make our own antique 😊 hymn board! What a great job, as always, you do. Thanks again, Eloise
ReplyDeleteI absolutely love how you transformed this old calendar into a hymn board! I am beyond blessed to have our old Church Sunday school attendance board. My daddy built our little country Church in 1960 and I still attend. I am so thankful to have this little piece of my family's legacy.
ReplyDeleteI so enjoy your blog!