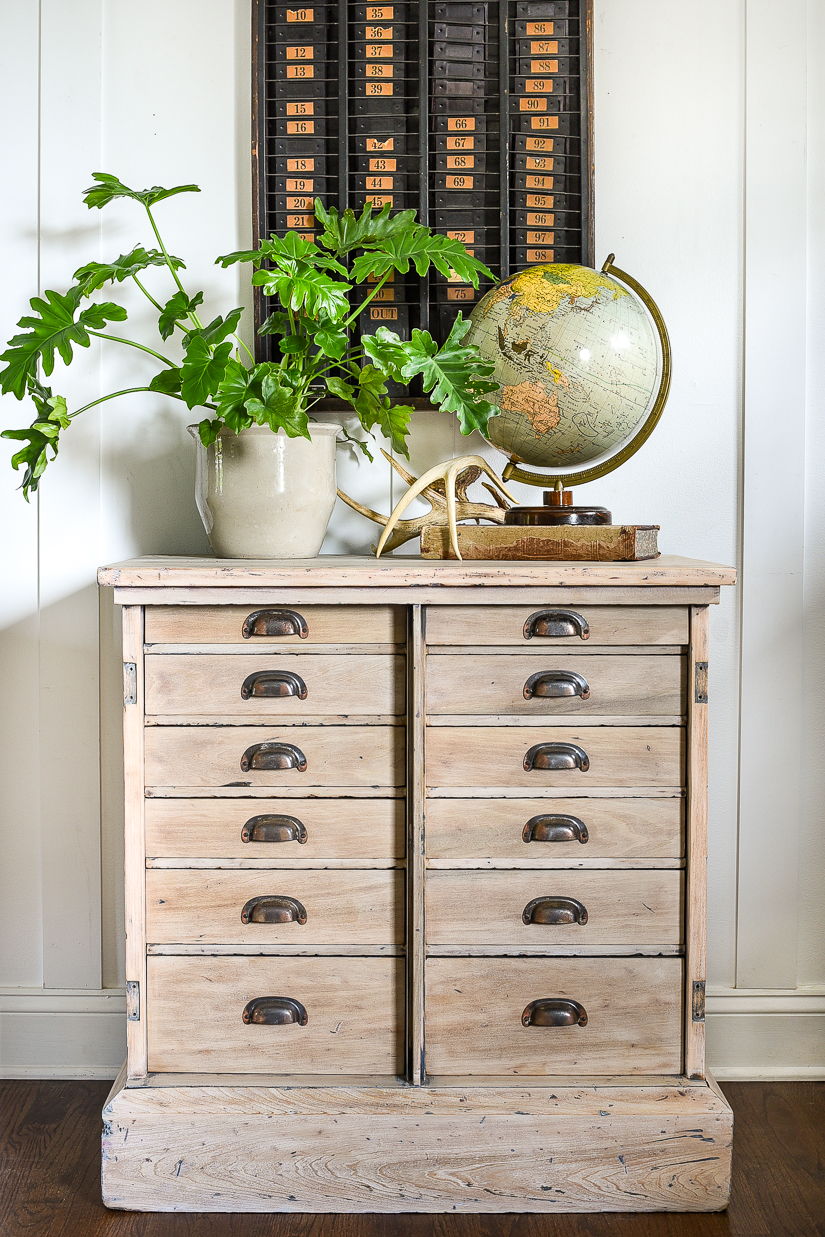
A painted antique multi-drawer storage cabinet gets a fresh new raw wood finish!
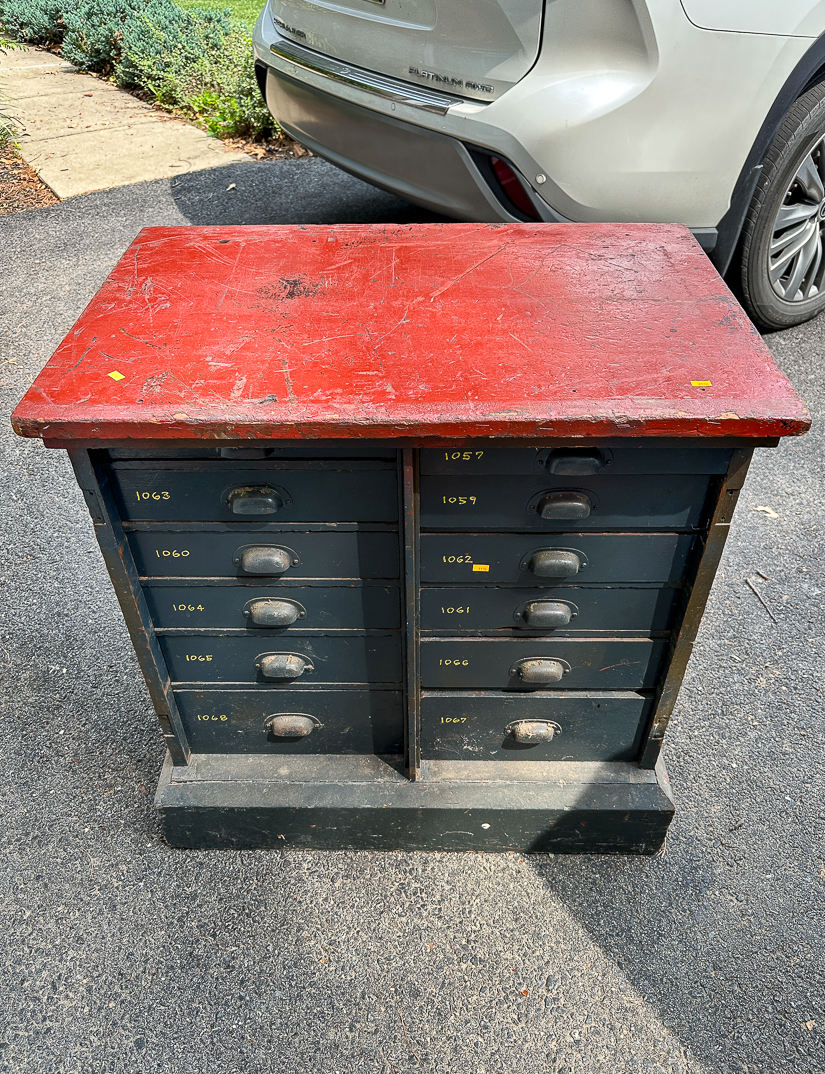
Last week, I picked up an antique multi-drawer cabinet from a local auction.
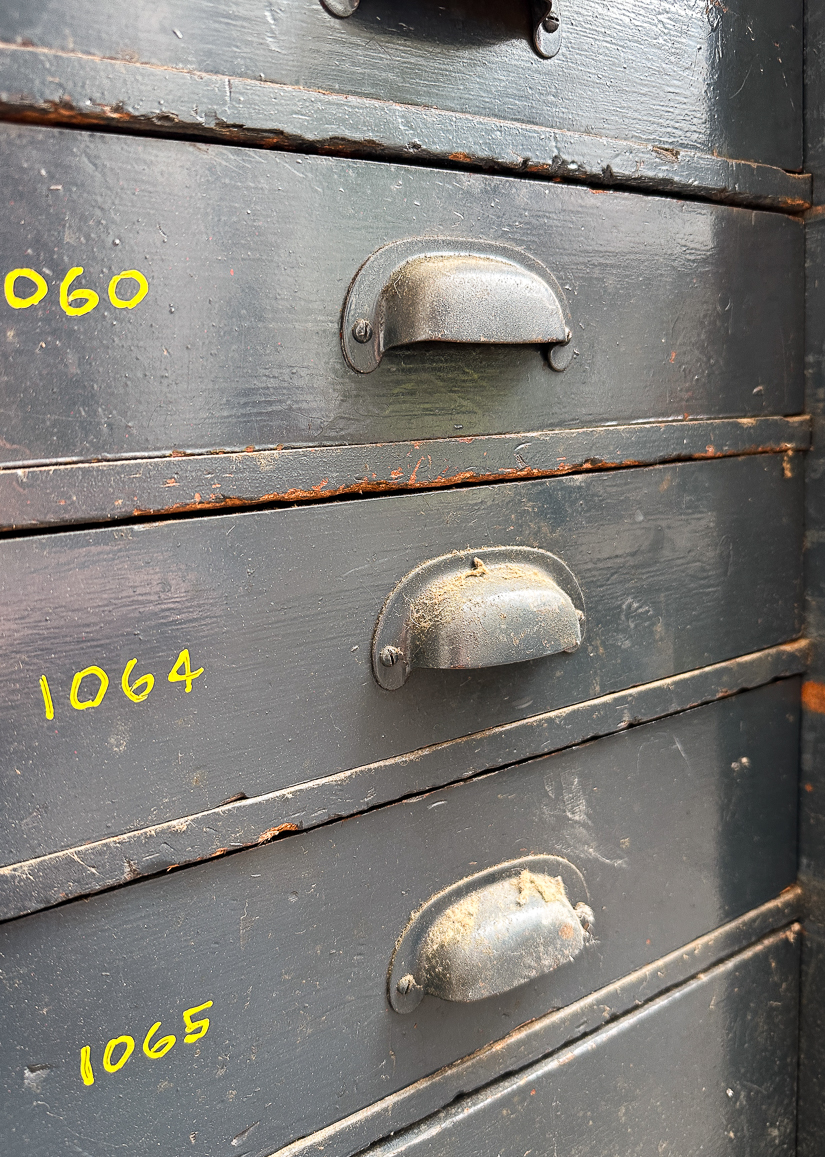
It was damaged, poorly painted, and covered in dirt and dust. I love anything with drawers, so I took a chance, bid without seeing it in person, and bought it based on the online pictures.
The cabinet was solid wood, so I knew I could give it a raw wood finish or a fresh coat of paint. Either way, it was bound to look better than it did before!
I don't know who made the executive decision to paint the top of the multi-drawer cabinet fire engine red, the body deep blue, and the drawer numbers bright yellow.
The colors were not doing the cabinet any favors and needed to go ASAP.
SUPPLIES NEEDED TO STRIP A MULTI-DRAWER STORAGE CABINET
- 80/150/320 sanding pads
- 400 grit sandpaper
- 14-in-1 painter's tool (or large chisel)
- Screwdriver
- Disposable Gloves
- Plastic wrap
HOW TO EASILY SAND AND STRIP AN ANTIQUE MULTI-DRAWER STORAGE CABINET
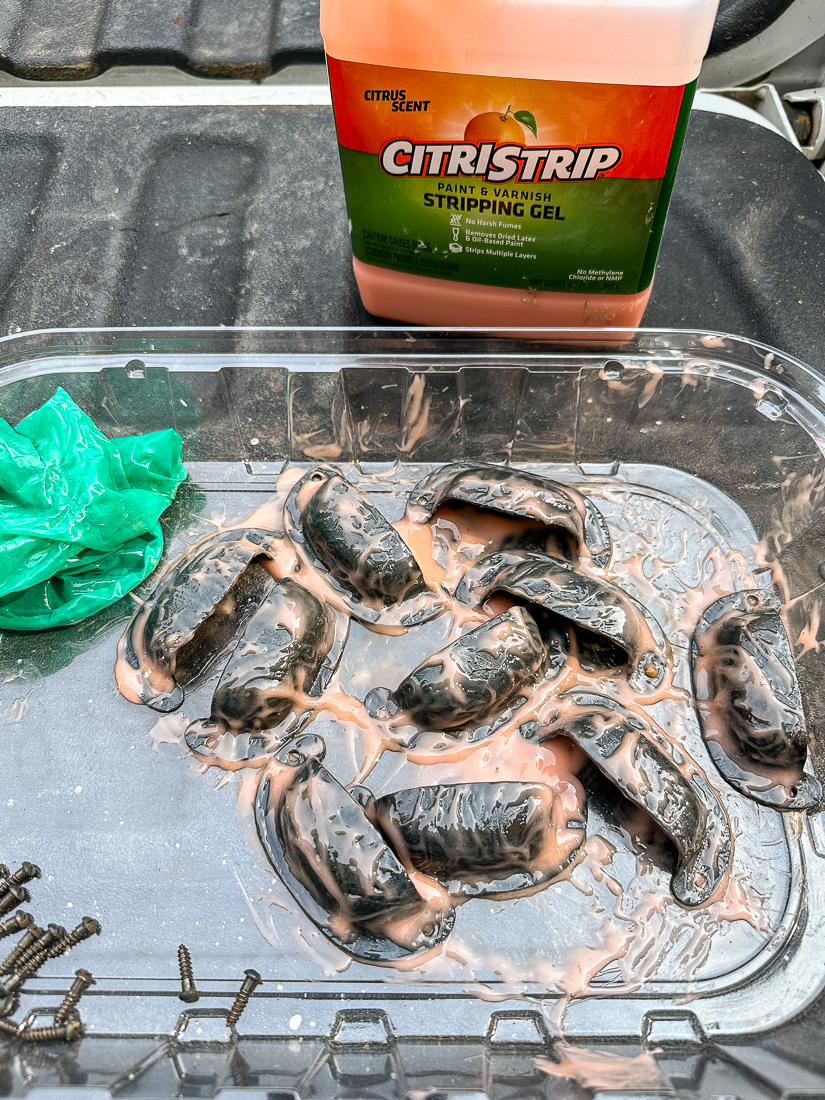
I had to split this project into two days, so I started with the drawers and stripping the blue paint from the original metal hardware.
Months ago, I removed unwanted spray paint from antique brass and used the same technique to restore the drawer hardware.
While wearing gloves, I coated the metal hardware in a generous amount of Citristrip. I let it sit for about 20 minutes (away from direct sunlight) until I noticed the paint starting to peel away. I wiped off as much of the Citristrip and old paint as I could then washed the hardware in hot soapy water.
Any leftover stuck-on paint or stripping gel was cleaned off with Mineral Spirits.
The hardware is worn, rusty, and far from perfect, but it's original, full of character, and better than being painted blue.
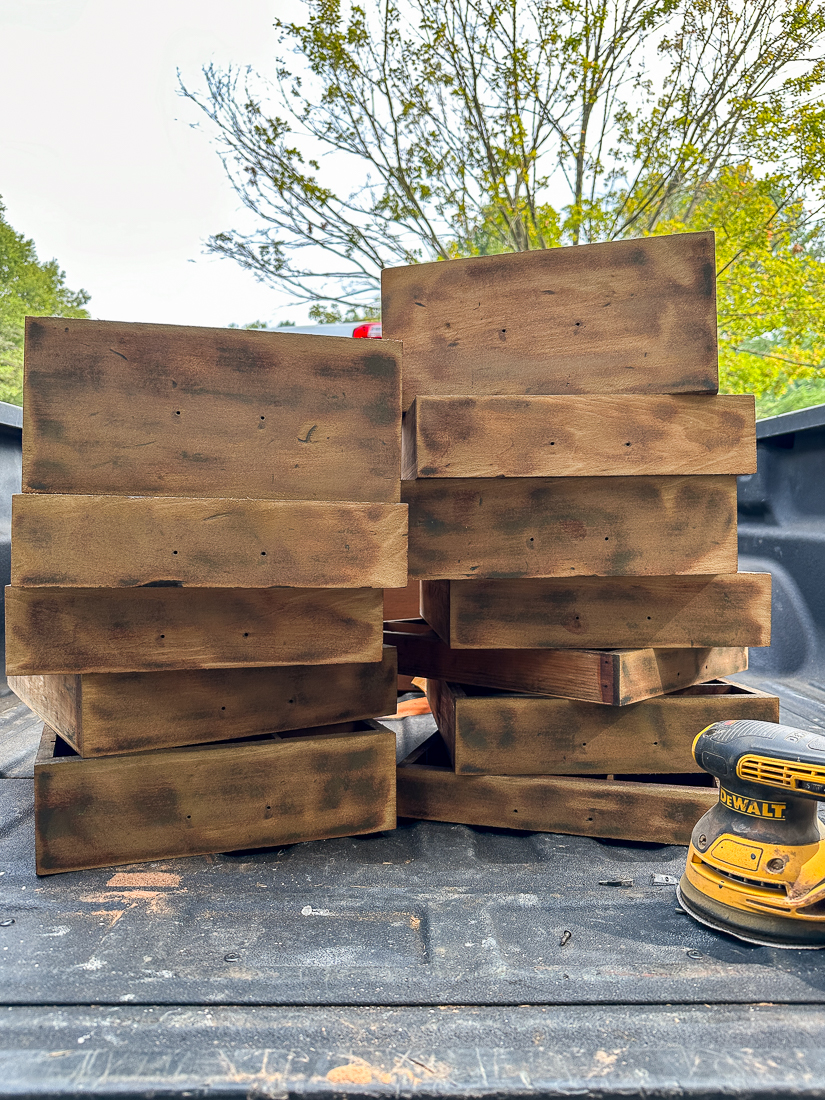
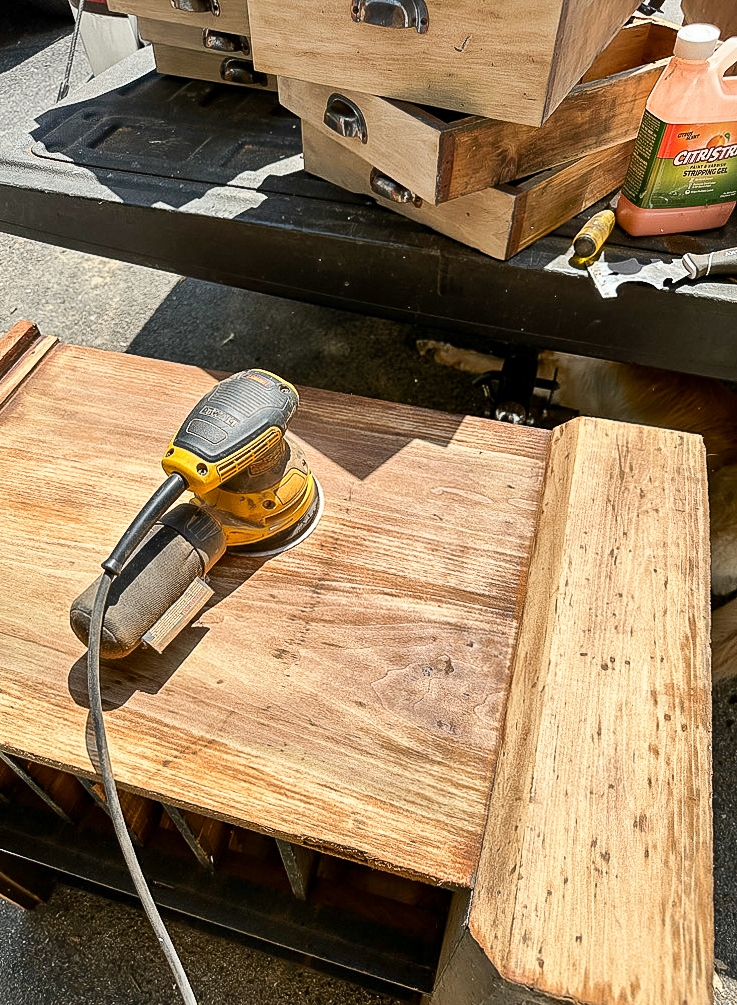
For the drawers, I started with 80-grit sandpaper to remove most of the paint and stain and then finished sanding the drawers with 150-grit and 320-grit sandpaper.
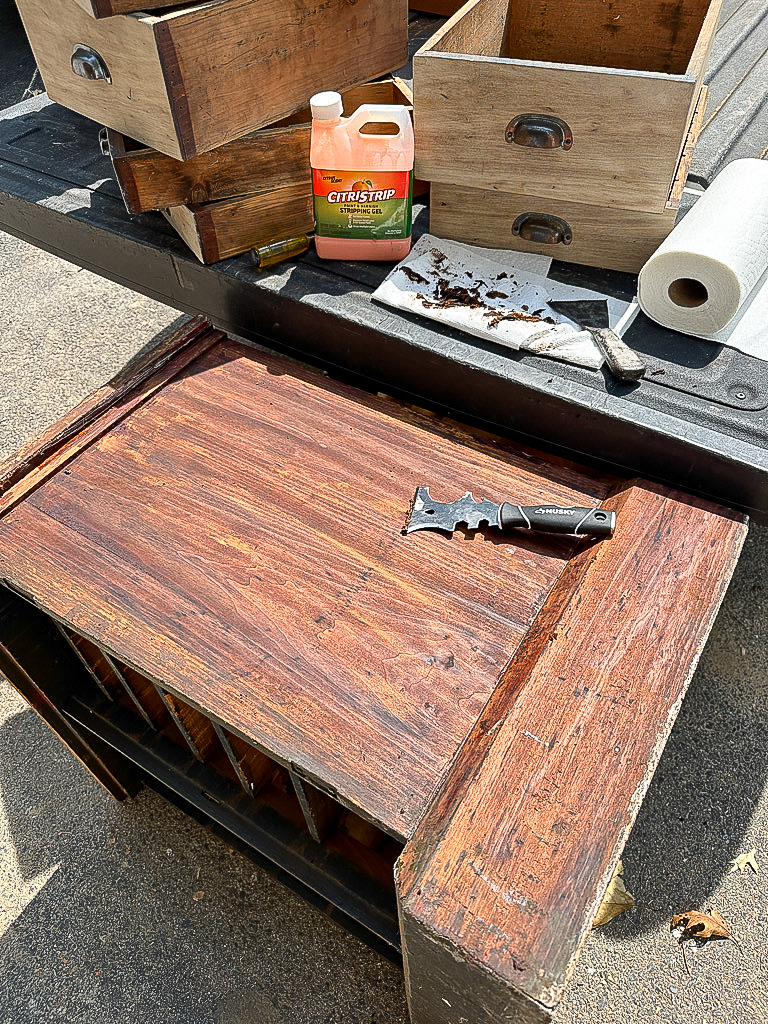
I started with Citristrip to remove the first couple of paint layers. The old paint scraped off effortlessly using a 14-in-1 painter's tool and then I sanded off the last layer of stain to the raw wood.
I sealed the entire cabinet with Briwax Liming Wax using a lint-free rag. After waxing, I gave the cabinet one final sanding with 400-grit sandpaper for an ultra-smooth raw wood finish.
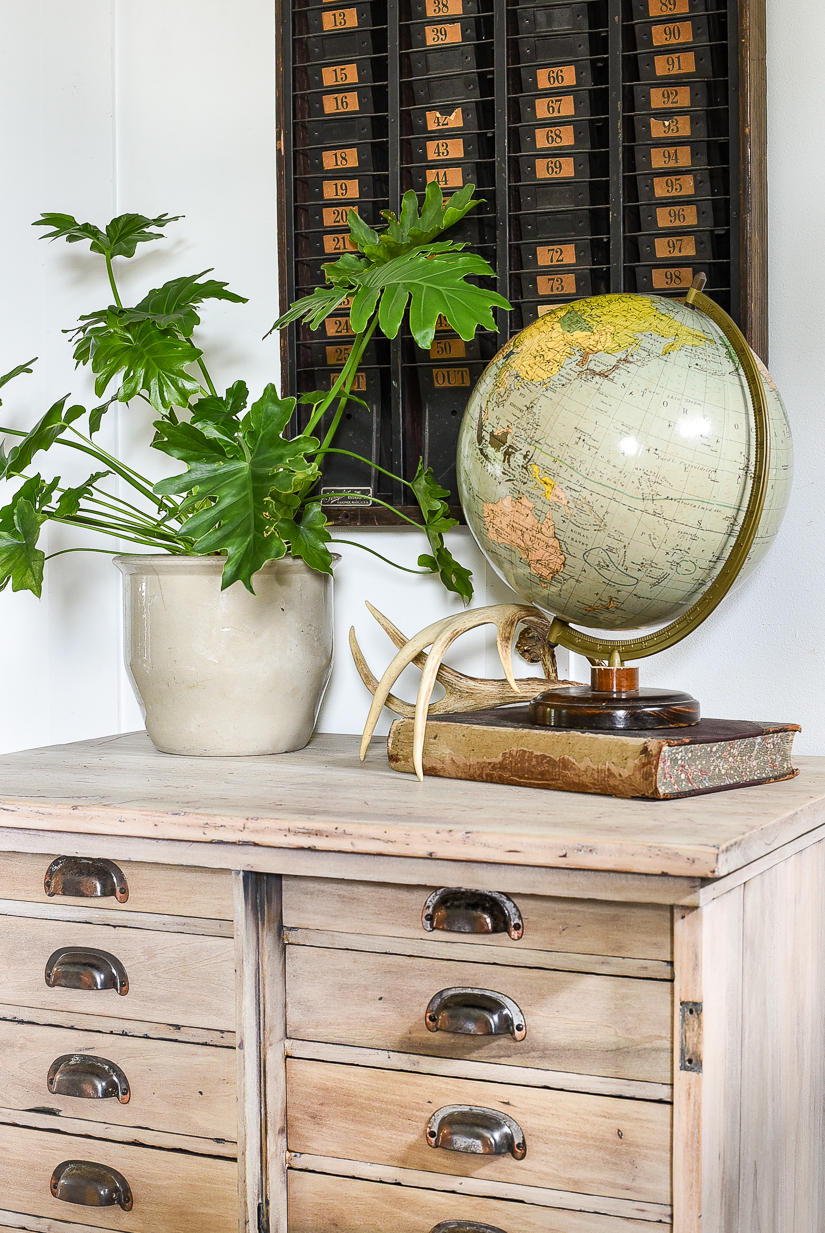
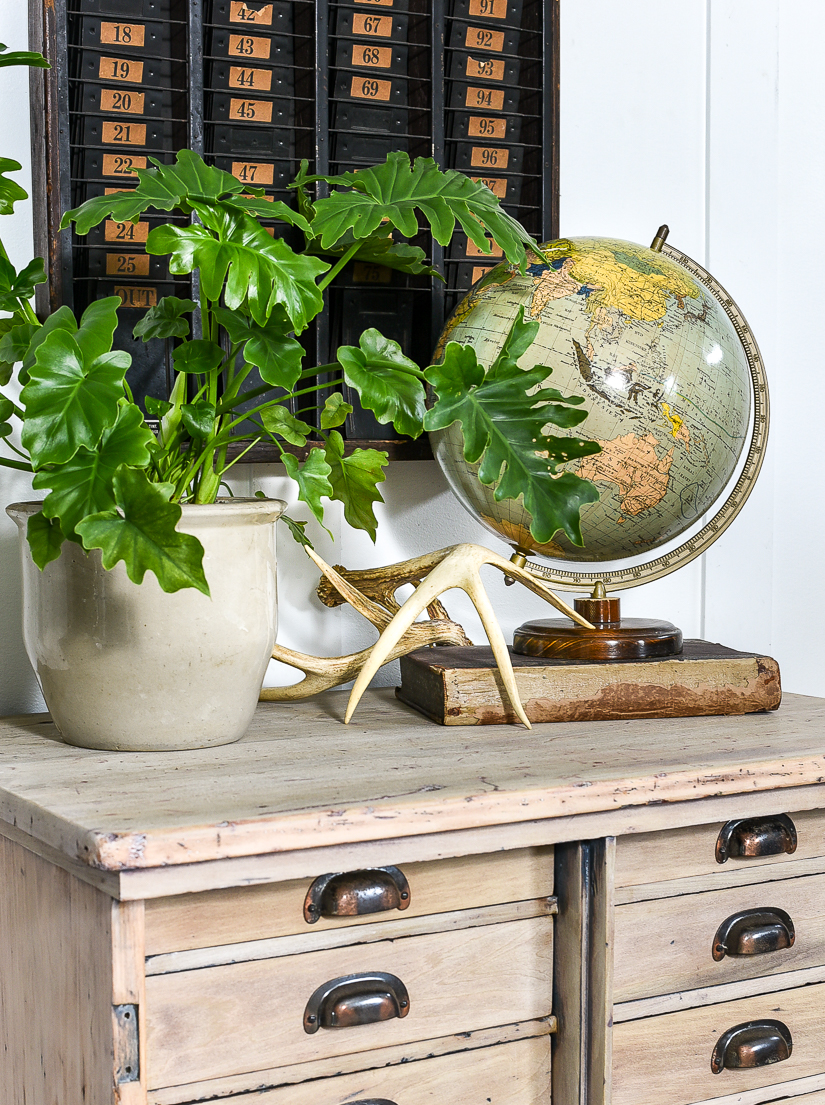
There's still a bit of red paint in the dings and gashes, but look how well the cabinet and drawers cleaned up!
I love antique pieces with loads of texture and character. This one definitely has both!
This antique multi-drawer storage cabinet came a long way from layers of paint and stain to a beautiful raw wood finish. I can't wait to see how someone uses and styles it in their own home!
What do you think?











Beautiful!
ReplyDeleteHi. Katie! You find the best pieces And then you work your magic. Another great makeover.
ReplyDelete