A dated credenza gets a modern makeover with pole wrap, new paint, and hardware!
The Lucketts Fall Market is less than two weeks away, so I've been in full-blown prep mode!
I've either been on the road, hunting and picking for fabulous vintage finds or prepping furniture for the market.
A few weeks ago, I shared an antique multi-drawer cabinet that I stripped and gave a raw wood finish. Today, I'm sharing how I transformed a dated wood credenza into a sleek modern sideboard.
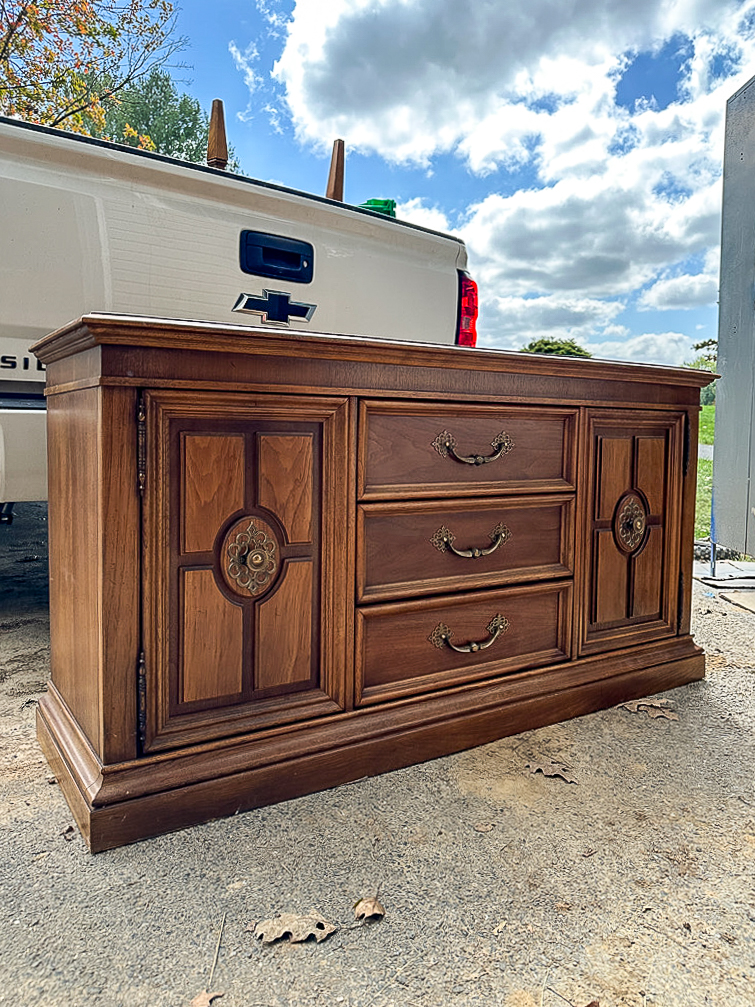
With a market deadline looming, I took a chance and placed a last-minute bid on a 1970s credenza. It wasn't even on my radar, and I completely overlooked it while browsing the online auction catalog.
A friend later sent me a picture and said I should bid since no one else had. I had doubts but took a chance, made a $2.50 bid, and won!
The credenza had a flyspeck finish, dated hardware, and trim detailing, but it was clean, solid, and had dovetail joints. It wasn't my style, but it had a lot of potential.
SUPPLIES NEEDED TO MAKEOVER A DATED CREDENZA
- Dated piece of furniture
- Black spray paint
- Rubber Mallet
- Hammer
- Chisel
- Wire cutters
- Sanding Pads (80/150/320)
- Paint Brush
- Drill
- Drill bits
- Screwdriver
HOW TO MAKEOVER A DATED CREDENZA
The word credenza is often used interchangeably with sideboard or buffet. Credenzas tend to have simplistic designs, a lower profile, buffet-style doors, and are used as storage for dishware. Sideboards and buffets are often taller and primarily used to display and serve food.
I started with a 1970s wood credenza that was in much need of a makeover. Along with wanting to change the finish, hardware, and trim detail I also wanted to increase the height.
First and foremost, the dated detailed trim on the cabinet doors had to go! Thankfully, they were simply panels attached to the doors that could be removed.
I started by prying off the panels with a crowbar and mallet. This removed most of the wood but left a mess and a bunch of small metal pins.
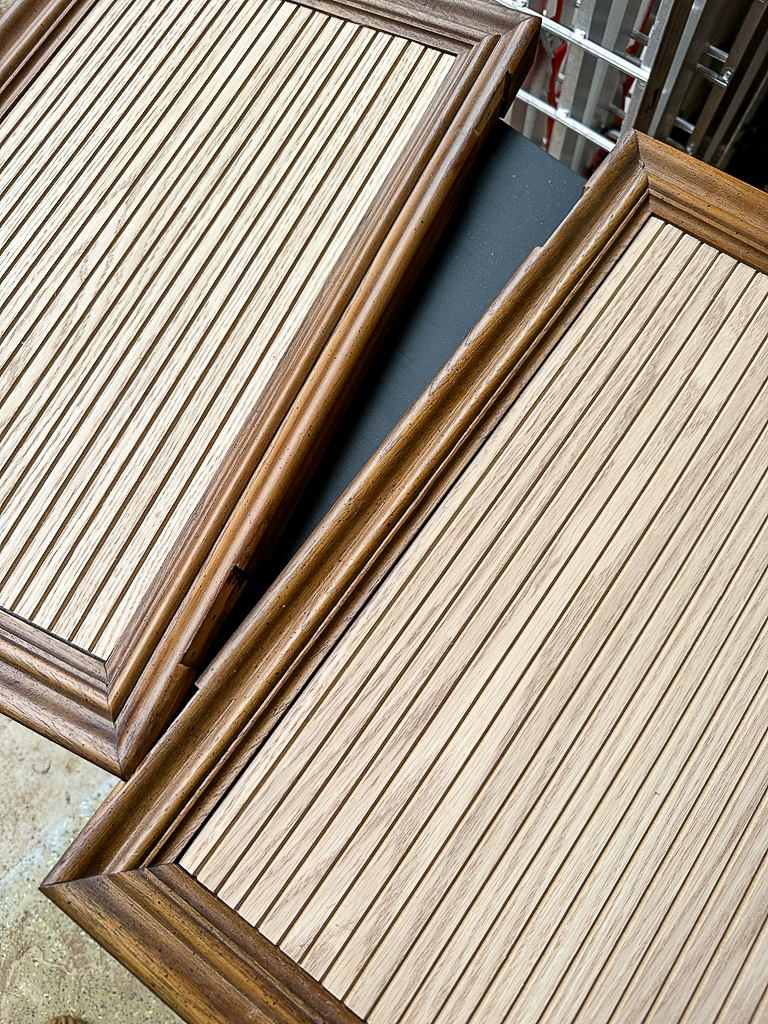
Next, I headed to Home Depot to purchase pole wrap. Pole Wrap is thin 1/2" wide panels of red oak bonded to a flexible backing. It's easy to cut and can be stained or painted.
I have always wanted to use it on a furniture makeover but have hesitated due to its price. This dated credenza was the perfect candidate since it was nearly free.
I measured and cut two sections of pole wrap using a utility knife and a metal speed square as a guide. Thankfully, I only had to sand down the sides for the pole wrap to fit perfectly into the recessed door panels.
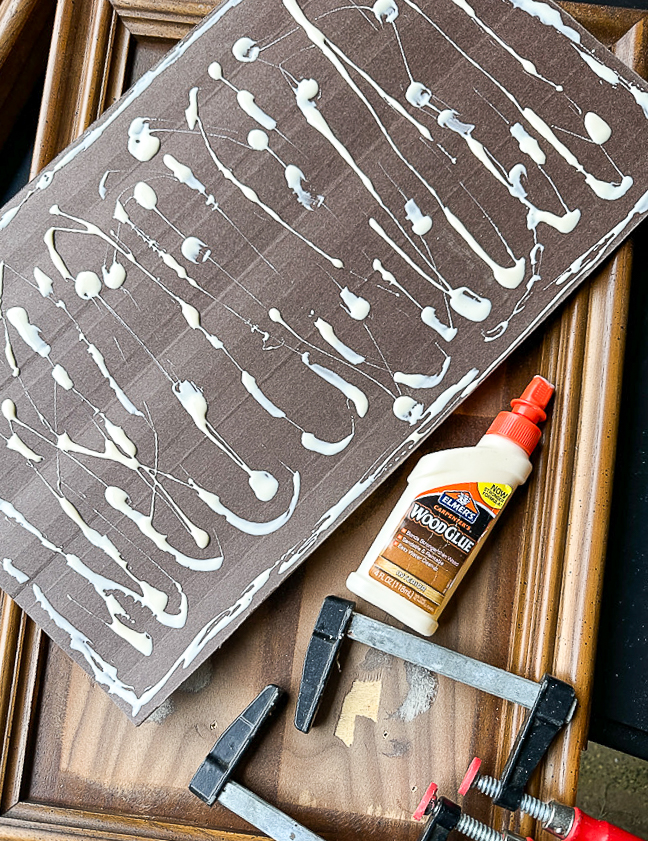
I added a generous amount of wood glue to the back of the pole wrap panels and used clamps to hold them in place while the glue dried.
I wanted to change the hardware placement, so I filled the old hardware holes with my favorite wood putty.
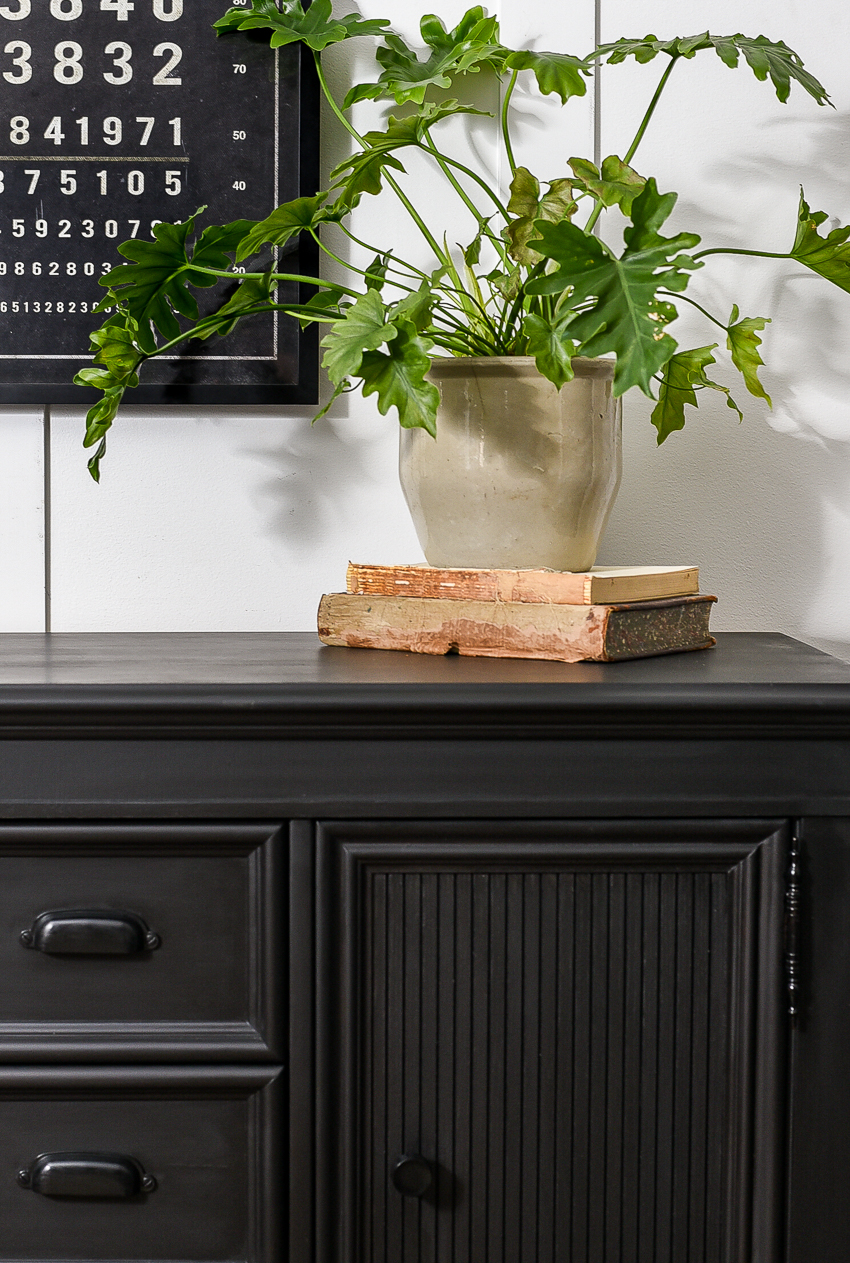
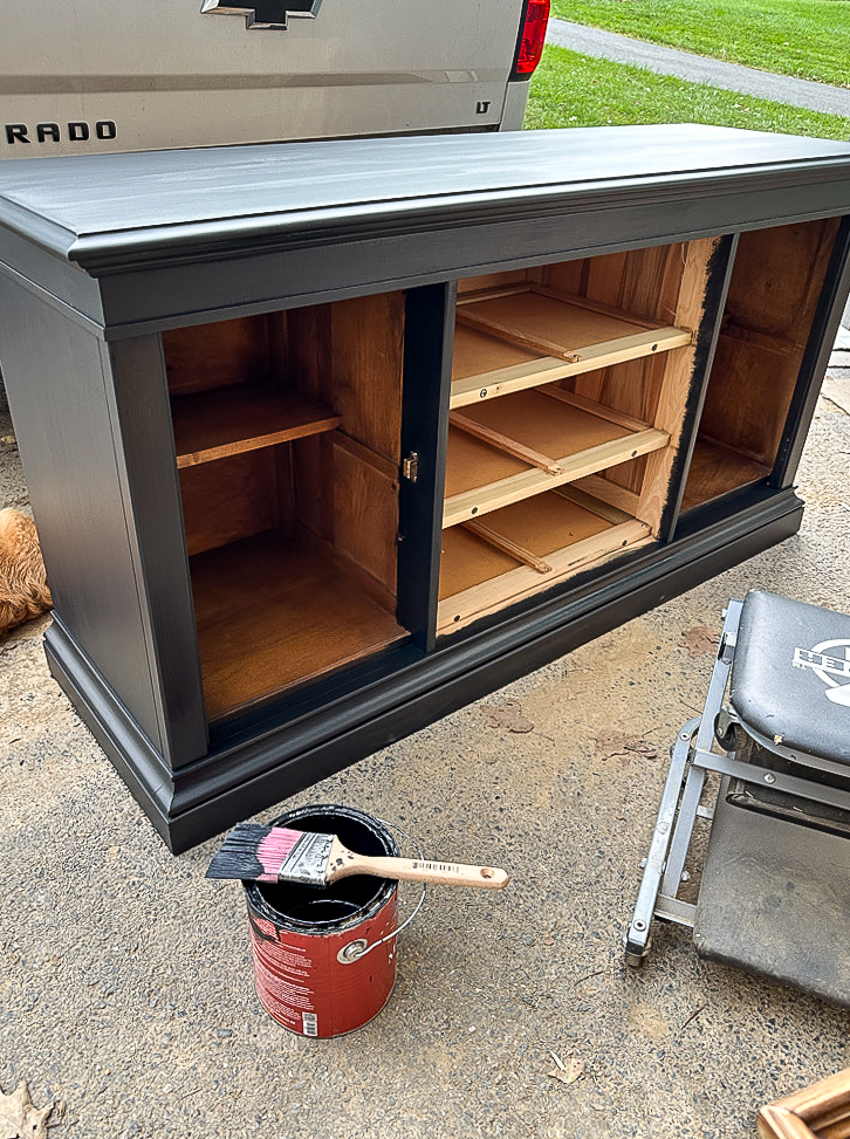
When everything was dry, I gave the entire cabinet a light sanding, wiped it clean, applied three coats of General Finishes Lamp Black, and sealed it with wax.
I finished the credenza by adding black metal feet and iron cup pulls.
The once-dated credenza is now a sleek and modern sideboard perfect for a dining or living room.
What do you think? Will you use pole wrap in a future furniture makeover?









.png)


What a great refresh on your super deal credenza. Love the updated look and the paint choice. I live in Illinois, but if I was closer to you, I would offer to buy it before it goes to market! Save you the hassle of transporting. :)
ReplyDeleteWow! Great makeover!
ReplyDelete